When painting a room, the biggest hassle is trimming around baseboards and ceilings. Work smarter, not harder, by picking the right paint edging tool.
Every editorial product is independently selected, though we may be compensated or receive an affiliate commission if you buy something through our links. Ratings and prices are accurate and items are in stock as of time of publication.
Buying a Paint Edging or Trim Tool
Painting may be the single best way to affordably transform the look of a room. Paint goes on relatively quickly, and it’s a great DIY project. But that doesn’t mean it’s totally without headaches! Anyone who’s done it knows that painting trim takes patience and precision.
Messy, uneven edge lines can ruin the look of an otherwise well-painted room. We’ll look at a handful of tools that promise to help get your trim’s edges right. But first, let’s go over basic terminology and the factors to consider when purchasing any paint edging tool.
Edging vs. Trim. These phrases can be a little confusing! “Trim” is decorative casing and molding that surrounds an opening or junction in a room, such as window trim, door casing, baseboard and crown molding. “Edging” refers to painting up against another surface, such as the junction of wall and ceiling, or the line between wall and trim. Some painters use slightly different terminology, calling edging “cutting in” or “trimming.” Here, we’ll be discussing tools for both edging and trim painting.
Quality construction. Every tool and material on a jobsite will take a certain amount of abuse. Look for paint edging tools that are well-built and made from durable materials without going overboard on weight. This is especially true for rollers or trim tools that you’ll be using overhead.
Easy to clean. Once you’re done using the tool, how long will you spend trying to get it clean? A tool that saves an hour of work but takes an extra 40 minutes to clean isn’t much of a deal. (The exceptions to this are any tools you buy as a one-off, assuming that you’ll plan on throwing them away when you’re done.)
Line of sight. When laying down an edge line, it’s vital that you can see where the paint is going. Poorly designed tools block your line of sight to the brush (or roller) and the flat edge you’re working against. That makes it difficult to see if the tool is doing its job until after the paint is on the wall.
With all of this in mind, here are nine outstanding tools to make painting less painful.
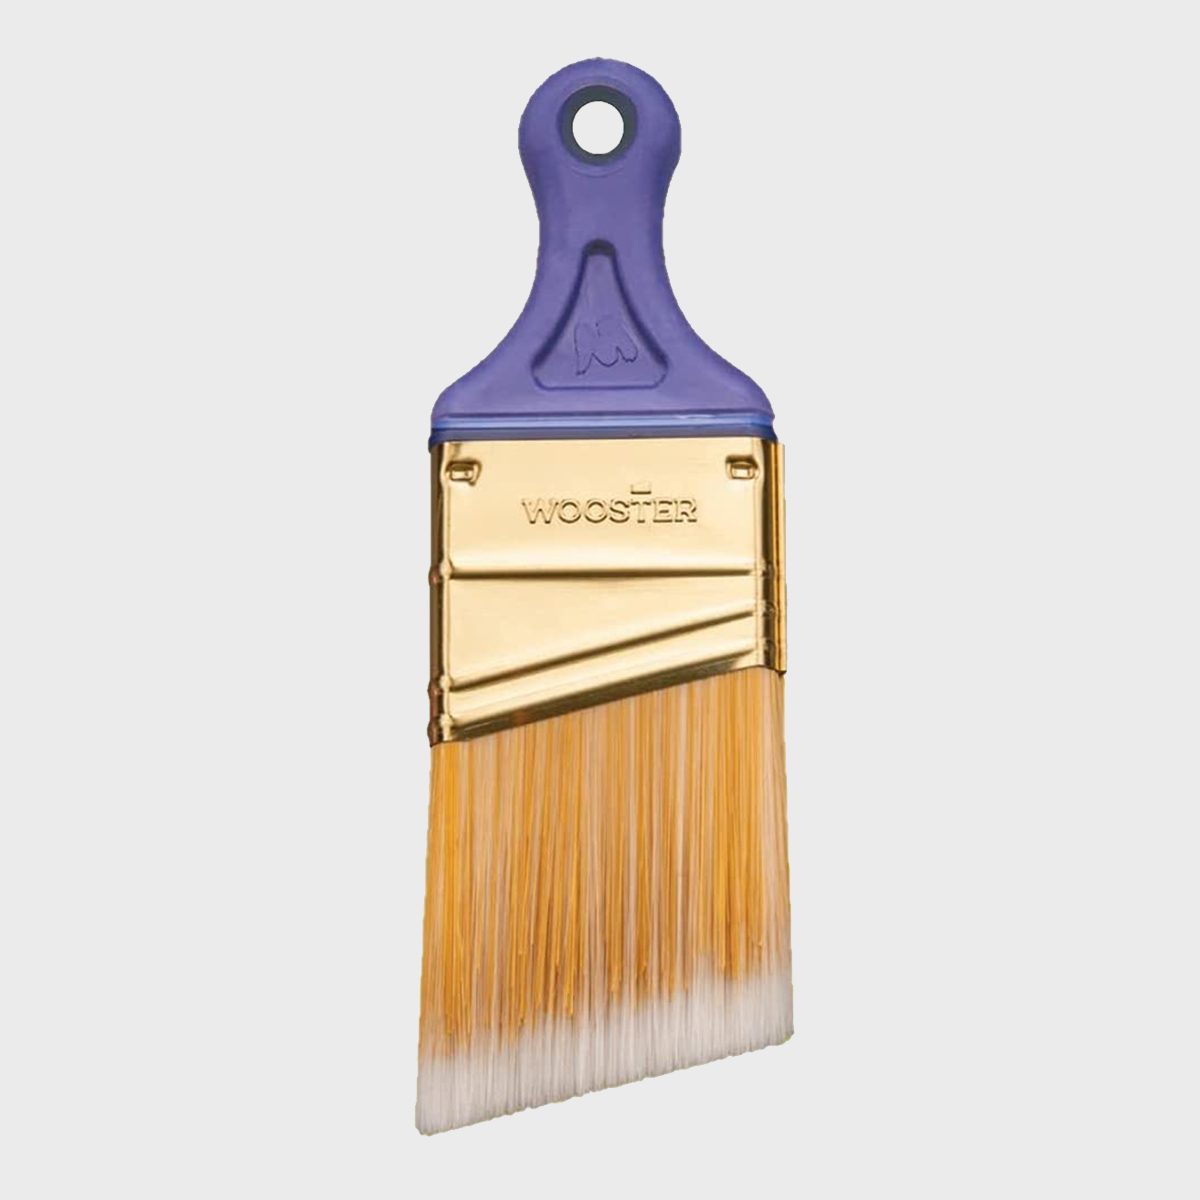
Wooster Shortcut 2-in. Trim Brush
One of the best things you can have in your painting tool kit is an angled brush with a flexible handle, like the Wooster Shortcut. Wooster makes incredibly high-quality brushes, and the Shortcut is specifically designed for trim and tight spaces.
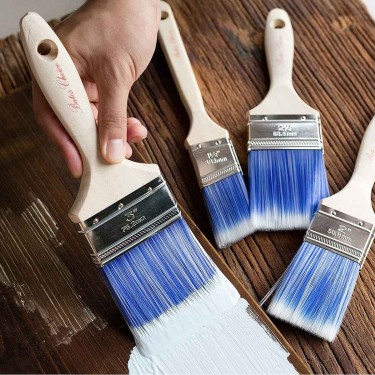
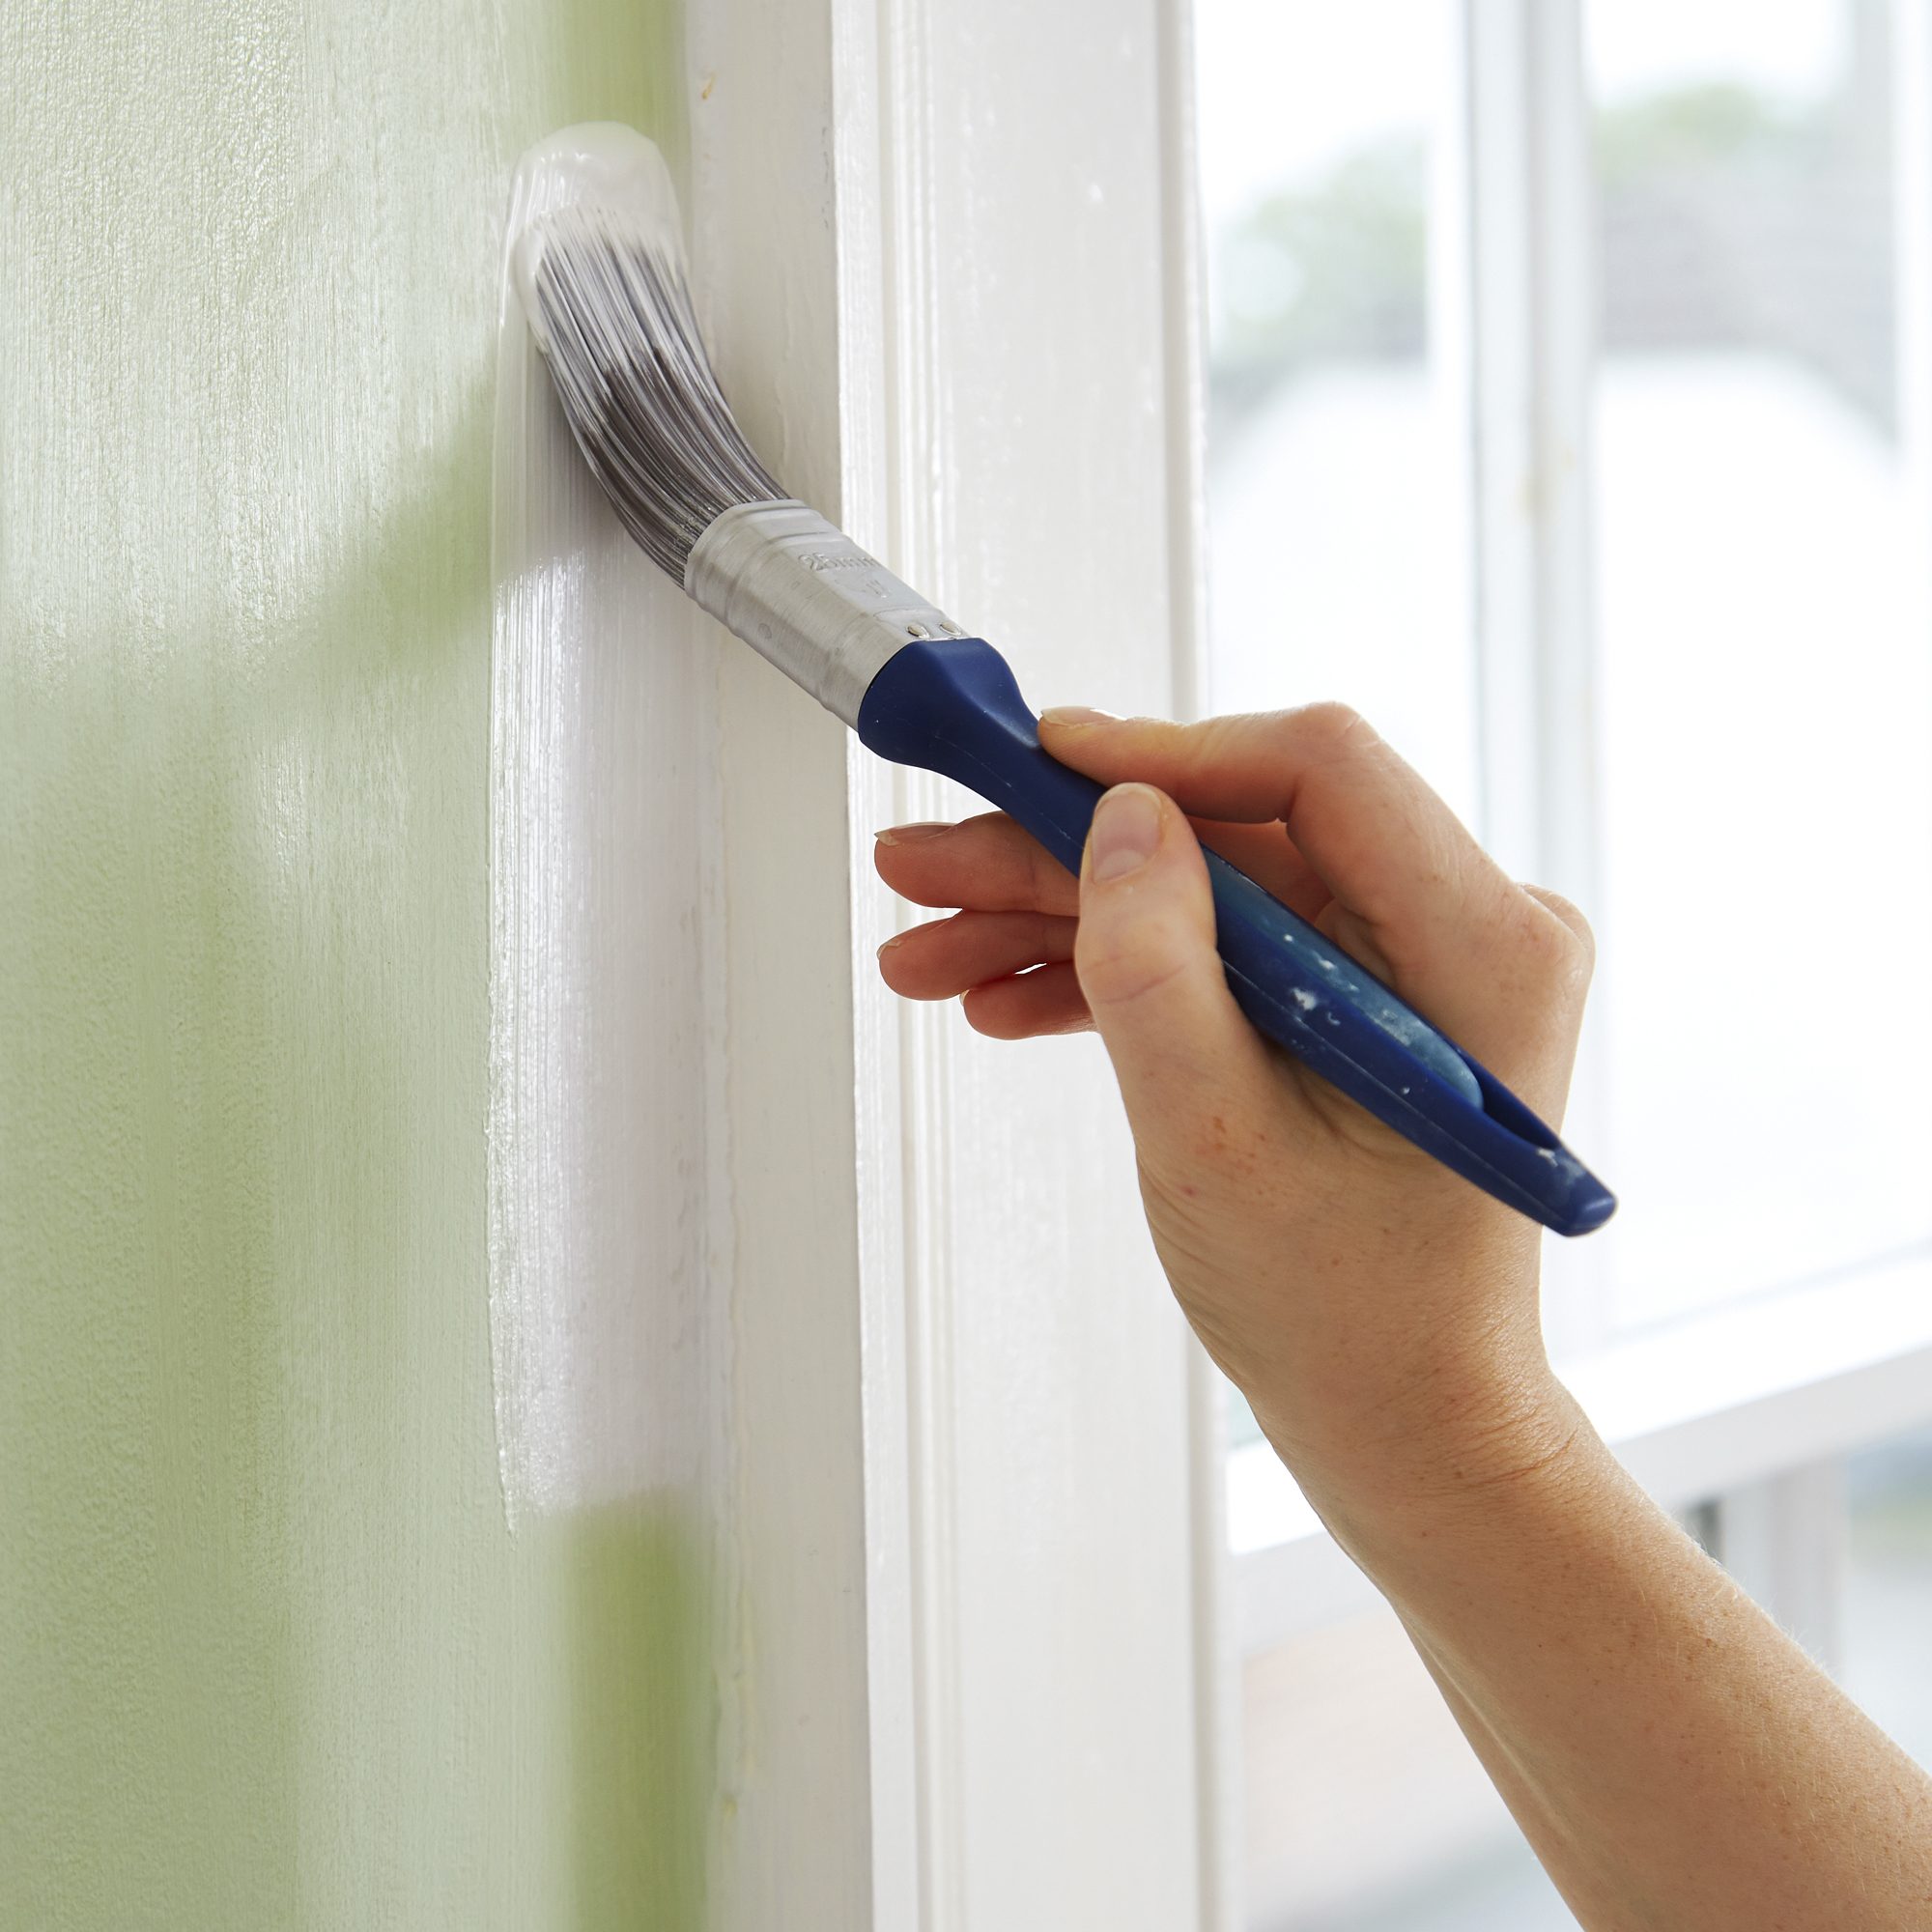
Perfect for painting trim or edging a wall, a good trim brush has angled bristles that provide greater control. (Think of an angled brush like a rapier, while a flat-head brush is more of a broadsword). The angle allows for excellent line of sight, allowing you to really focus on where the tip of the brush meets the trim.
Some painters prefer the traditional longer handle for their trim brushes. It’s really a matter of preference, but generally speaking extended handles are more comfortable for cutting in long stretches of trim such as a baseboard or ceiling, while the flexible short handle is better for tighter quarters or cutting in around irregular shapes. Both types of brushes clean out easily in water (or solvent, if you used oil-based paint).
Simply put, there’s no tool that surpasses a quality brush in the hands of a skilled painter. But luckily, there are a number of tools to help you along as you’re developing those skills.
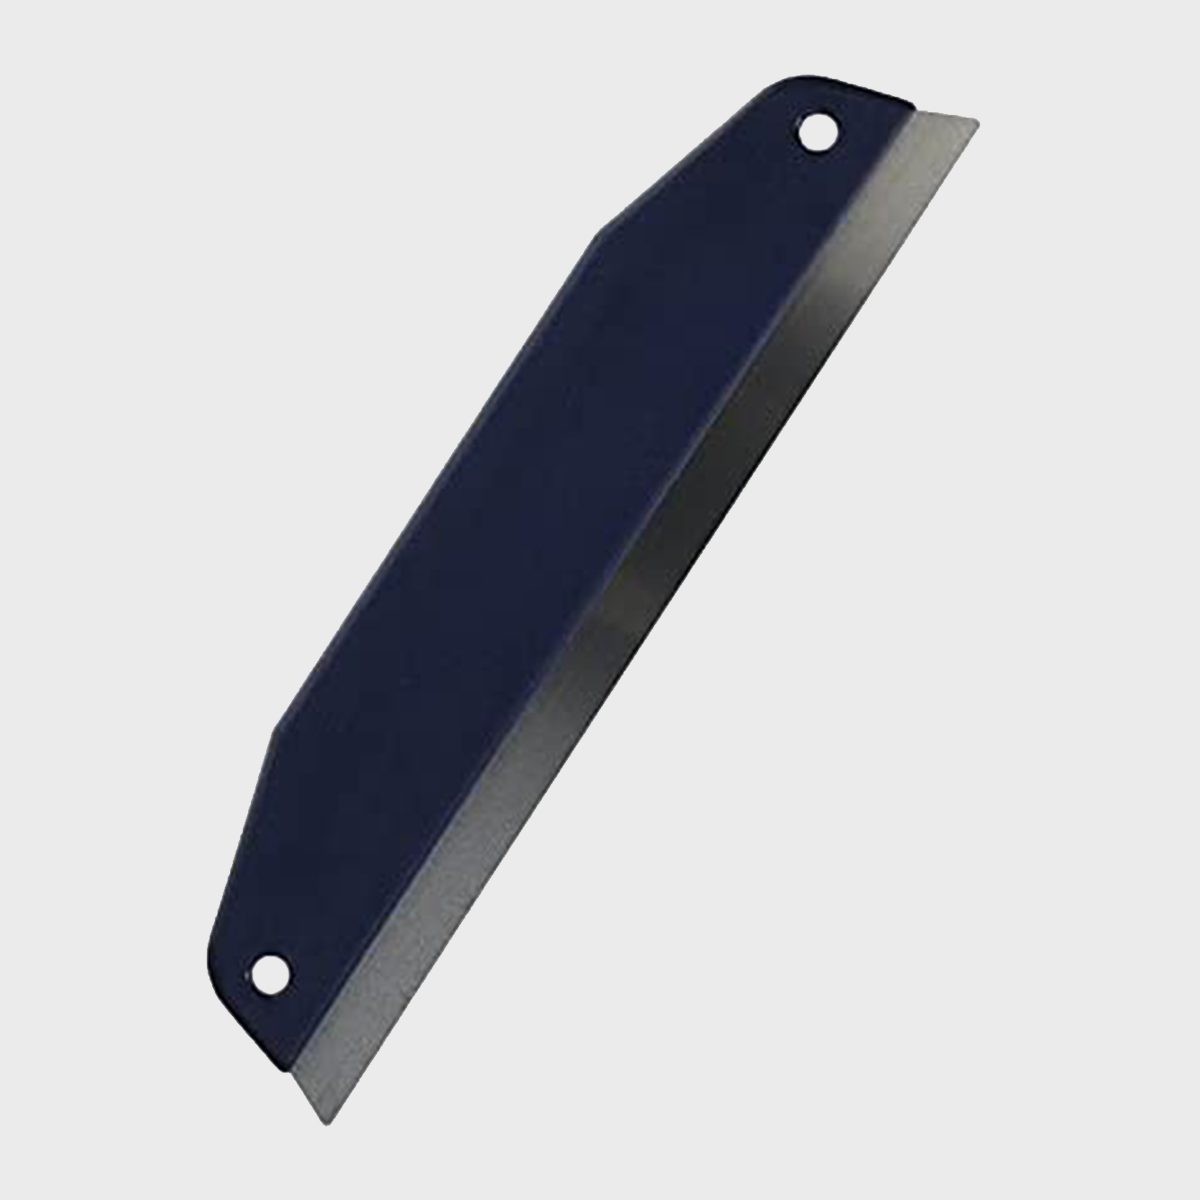
Edward Tools Paint Trim Guard
The most basic tool to aid in trim painting is a long metal guard like this one from Edward Tools. The stainless steel blade is durable, rust-resistant and easy to clean. (It also comes with a lifetime warranty.) The thin blade minimizes visual obstruction, allowing you to get as close as needed to ensure a quality edge.
This is another tool that can be used when painting trim or edging up to it. Pro tip: We see a lot of apprentice painters make the mistake of pulling the guard across the trim when resetting. This movement draws paint across the trim surface, ruining the entire effect. Avoid this by pulling out and away at an angle, wiping any accumulated paint from the shield with a rag. It only takes a second or so to do this, and it’s far faster than pre-taping or trying to clean up besmirched trim after the fact.
If you don’t want to buy a dedicated trim guard, you can use a wide drywall mud knife instead. The shorter the blade length the more often you’ll have to reset.
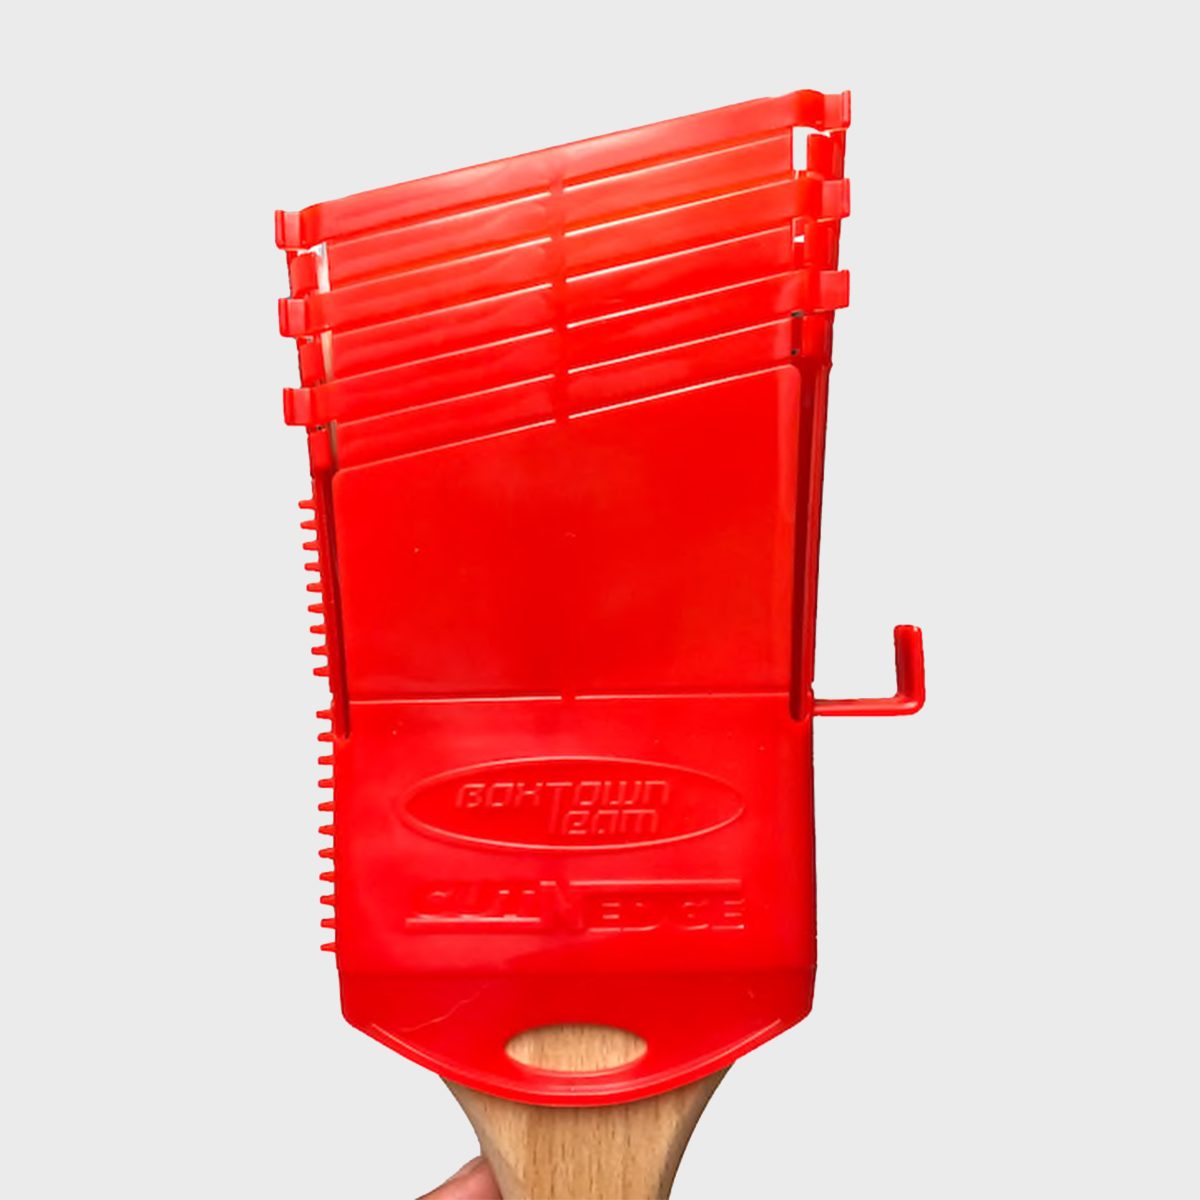
Boxtown Team Cut-N-Edge
The Boxtown Team Cut-N-Edge takes the concept of shield and brush and integrates the two into a single tool, perfect for edging or painting trim. In fact, the Cut-N-Edge uses two shields that wrap around the brush, sandwiching the bristles. That compression is adjustable, allowing you to control the stiffness of the bristle edge. Tighter bristles mean very tight, thin lines for precision edging, while looser bristles allow for flexibility and wider coverage when painting trim.
Available as a standalone or bundled with a 2-1/2-in. angled nylon brush, the Cut-N-Edge allows for excellent line of sight. The plastic body can extend to cover the end of the bristles, making it a perfect protective storage system. It also has teeth to aid in brush clean-out and a side hook to permit in-can support while taking a break. (The hook is optional — if it gets in your way, simply break it off.)
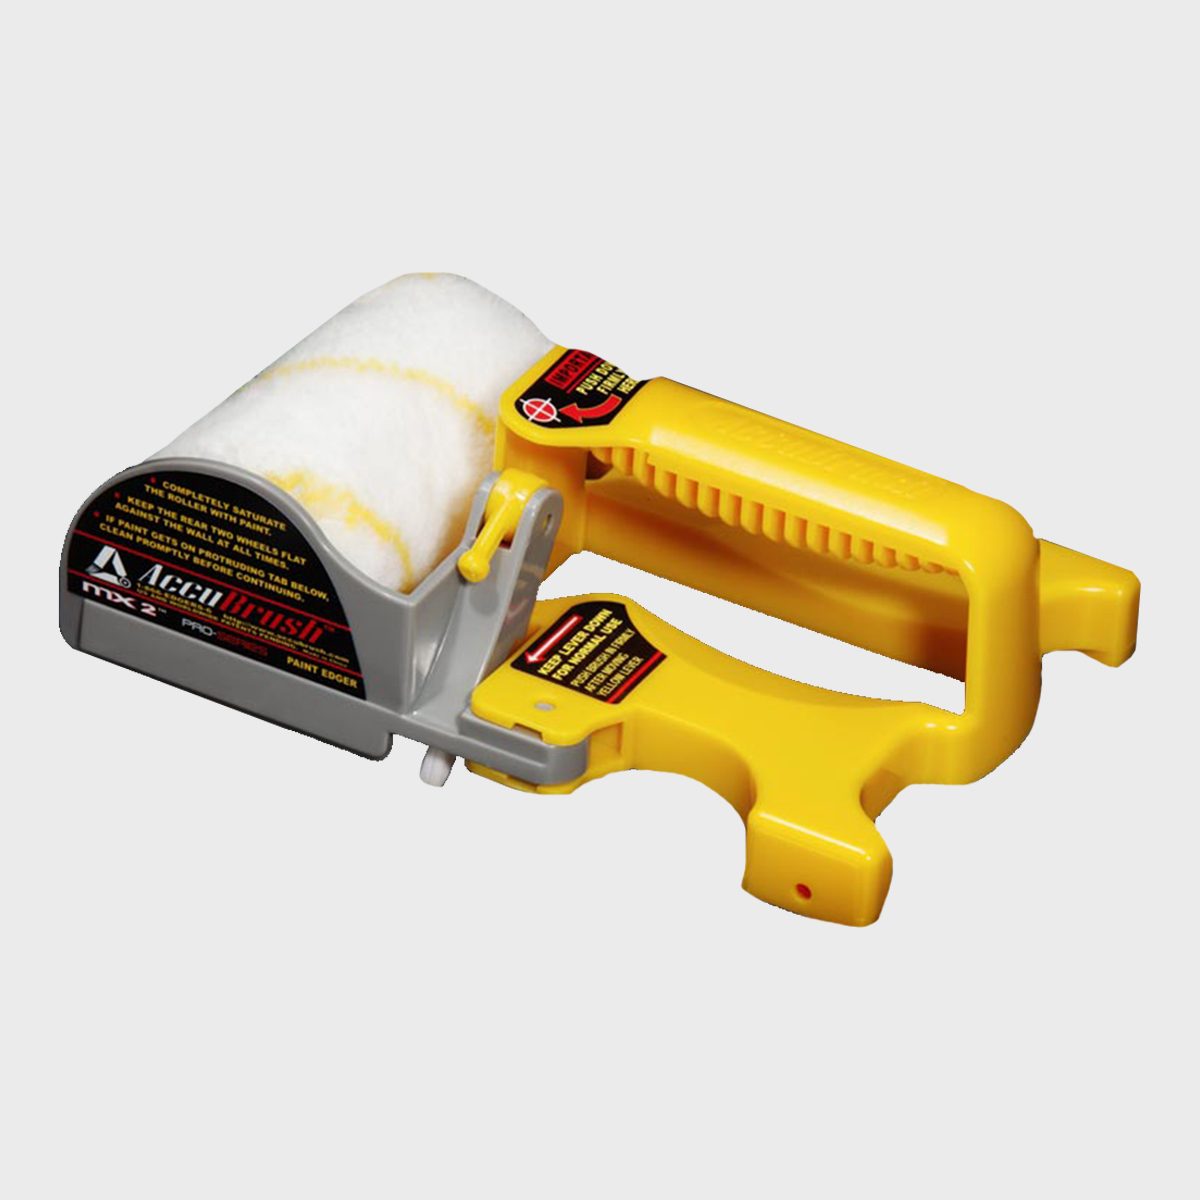
The Accubrush Paint Edging System
The Accubrush System is an edging kit designed for the DIYer who is planning to paint more than just a couple of rooms.
The Accubrush is a mini-roller with a plastic shield on one side. (Because trim usually has some sort of profile, all mini-roller kits like this one are designed to assist in edging, rather than painting trim directly.) Place the shield against the trim or ceiling you want to protect, and the roller never gets close enough to spread paint onto the protected surface. This leaves a slight gap along the trim, but the Accubrush deals with this by incorporating a teeny-tiny brush that trails along behind the roller, effectively closing the gap.
This construction makes for a less-clear line of sight and a more complicated cleaning process but you gain more stability in the tool. Essentially, the Accubrush requires less hand-eye coordination to roll out proper edges.
It’s available as a handheld tool, an extension-pole mounted tool or an all-in-one kit with both options included.
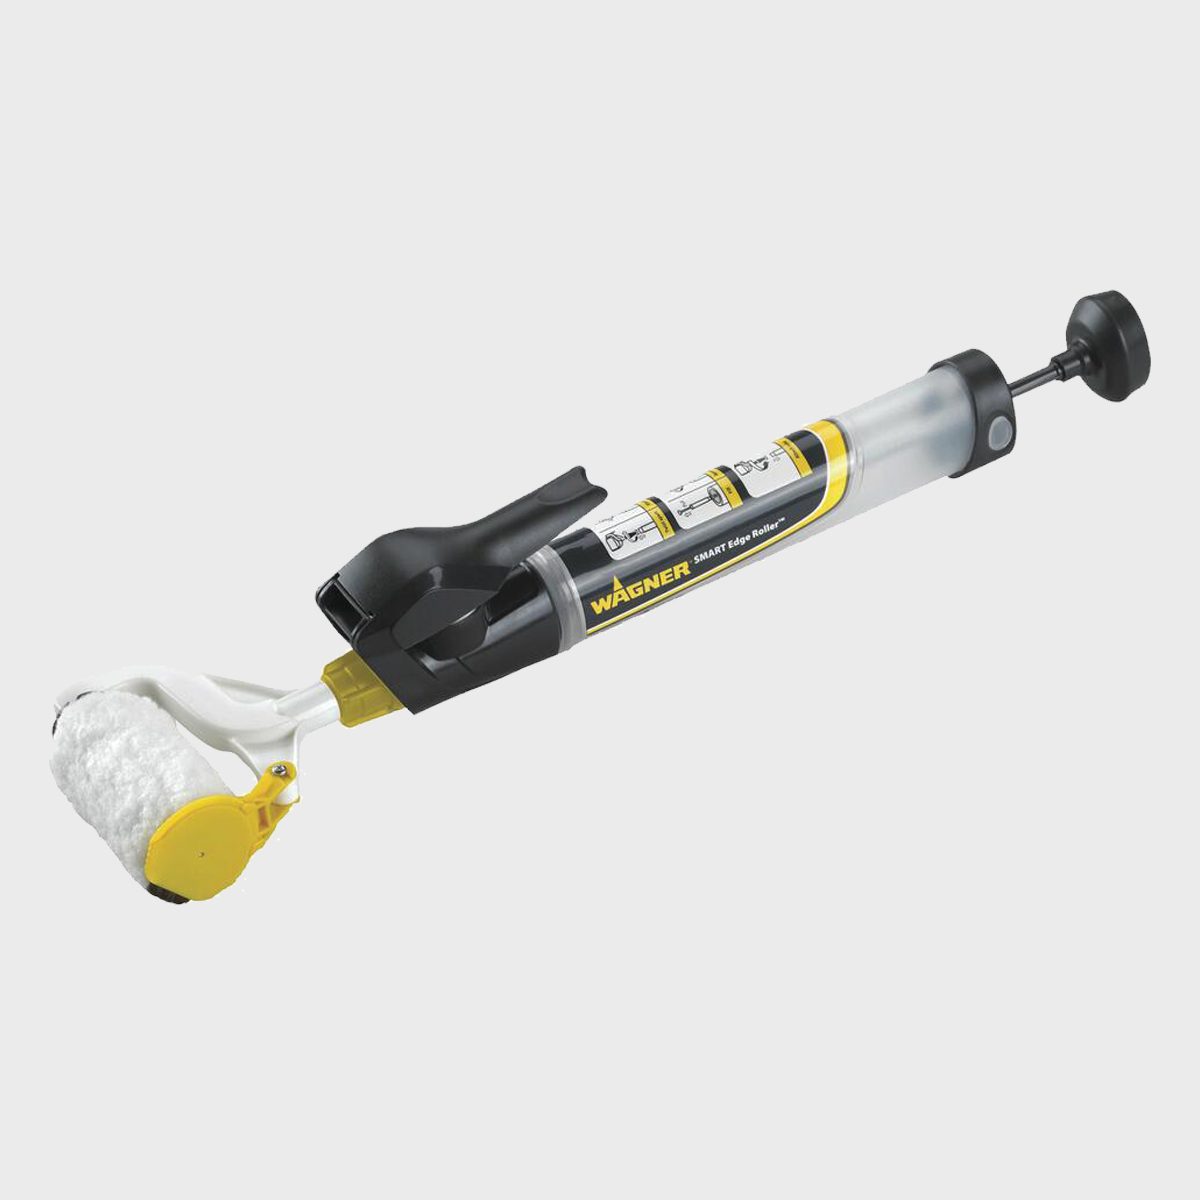
Wagner SMART Edge Paint Roller
The Wagner SMART Edge Roller has a shield-and-roller design that’s similar to the Accubrush, but without a secondary brush. Wagner’s primary selling point is that this tool can hold a reservoir of paint inside its handle. The paint flow is controlled by a thumb-activated trigger on the handle. This dramatically reduces the number of times you need to re-wet the three-inch roller — as the roller begins to go dry, simply give a squeeze and you can keep on working. The reservoir holds up to six ounces of paint, which Wagner estimates will cover up to 96 linear feet of edging.
The Wagner has a couple drawbacks. First, the shield design means that paint can’t get perfectly against the trim or ceiling, so depending on your standards you may still have to do some touch-up edging. Second, the paint storage system does add weight — not too much, but enough that you’ll begin to feel it over the course of painting a room, especially if you’re working overhead.
We do love the fact that the same design that allows it to store paint in the handle makes it easier to clean up. Simply squeeze excess paint back into the can, then thread the provided cleaning adapter to a garden hose or threaded faucet and flush water through the roller.

Shur-Line Paint Edger Plus
Another popular trim tool is the Shur-Line Paint Edger Plus. There are a number of Shur-Line edgers, and we chose to highlight the “Plus” model because of its versatility, being able to be used handheld or pole-mounted.
The Shur-Line is essentially a woven-fiber pad with a pair of wheels on one edge. By rolling the wheels along the trim, you get a straight line. This works very well as long as the ceiling or trim item is relatively straight and long.
The Shur-Line has very good line of sight and cleans easily. The plastic body will bend or break if left at the bottom of a toolbox or otherwise abused, but the purchase price ($7) reflects any durability issues.
We do like that the woven fibers essentially leave no individual brush marks, helping the trim paint blend in with roller-applied body paint on the wall.
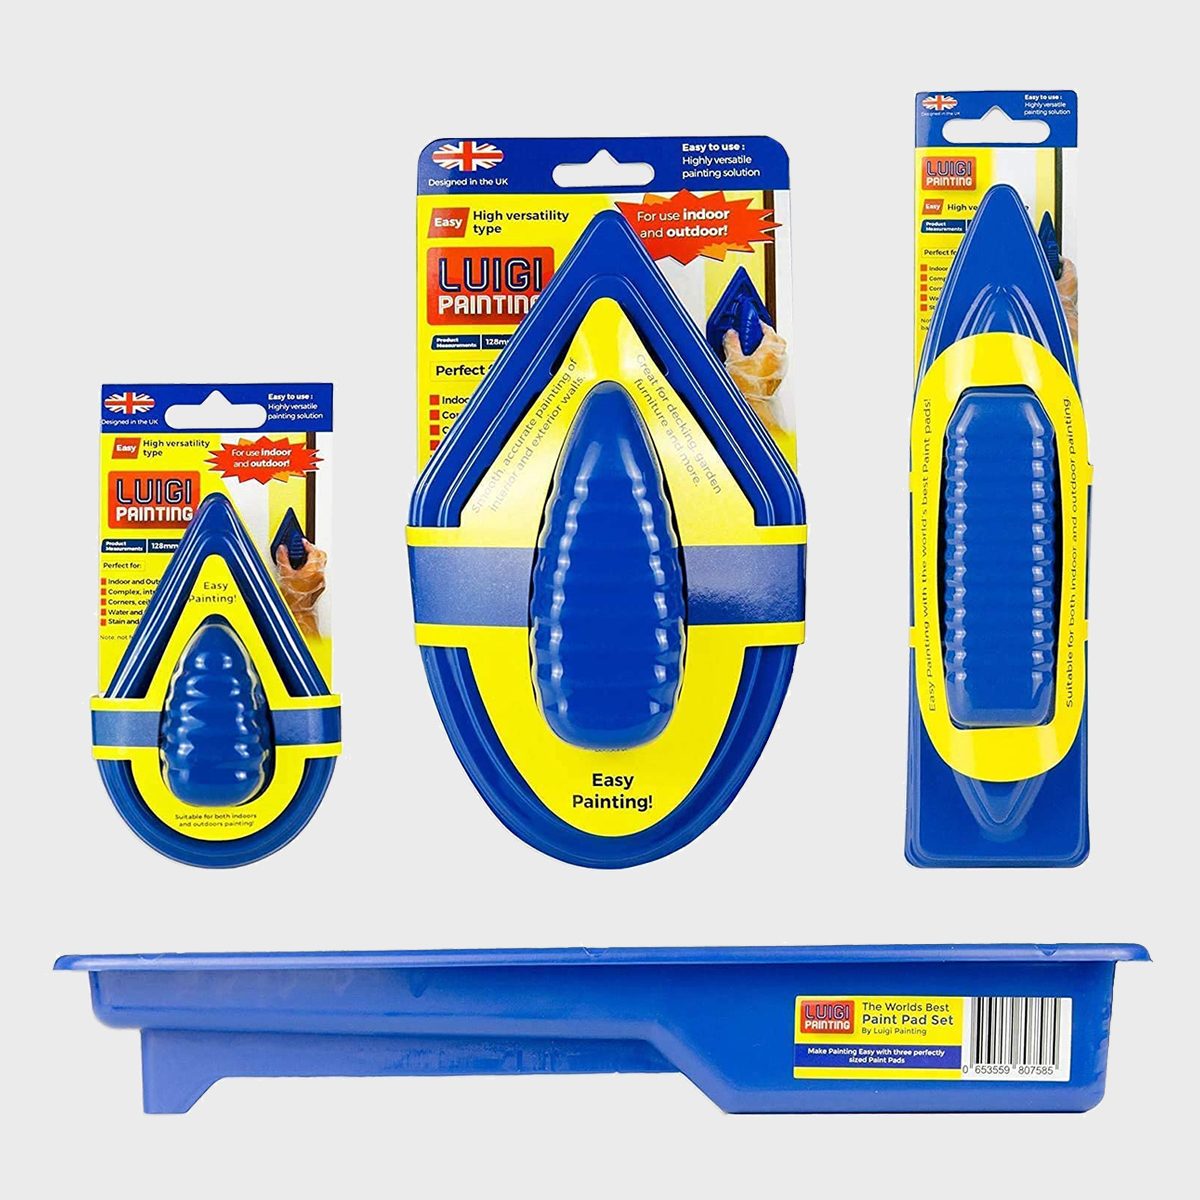
Luigi Paint Pads
The self-proclaimed “World’s best paint pad” consists of three angled pads and a tray. And they’re very useful tools for novice painters intimidated by the notion of cutting in edge paint.
Paint pads are essentially thin sponges on a plastic handle. With no bush marks, the edging paint will blend well with roller-applied wall body paint. They’re easier to apply an even coat, and just a bit of lip that extends past the pad edge, so they have very good line of sight to your trim line. The downside of sponges is that they hold less paint and require more frequent refilling. They also aren’t as durable as brushes. (Those two factors of speed and durability are why most pros only use sponge brushes on occasion.)
What we like about this edging set is the variety of sizes and angles the pads come with. Chances are good that no matter what kind of profile you need to paint, one of these pads will be able to tackle it. To the best of our knowledge, there is no Mario companion kit planned as of yet.
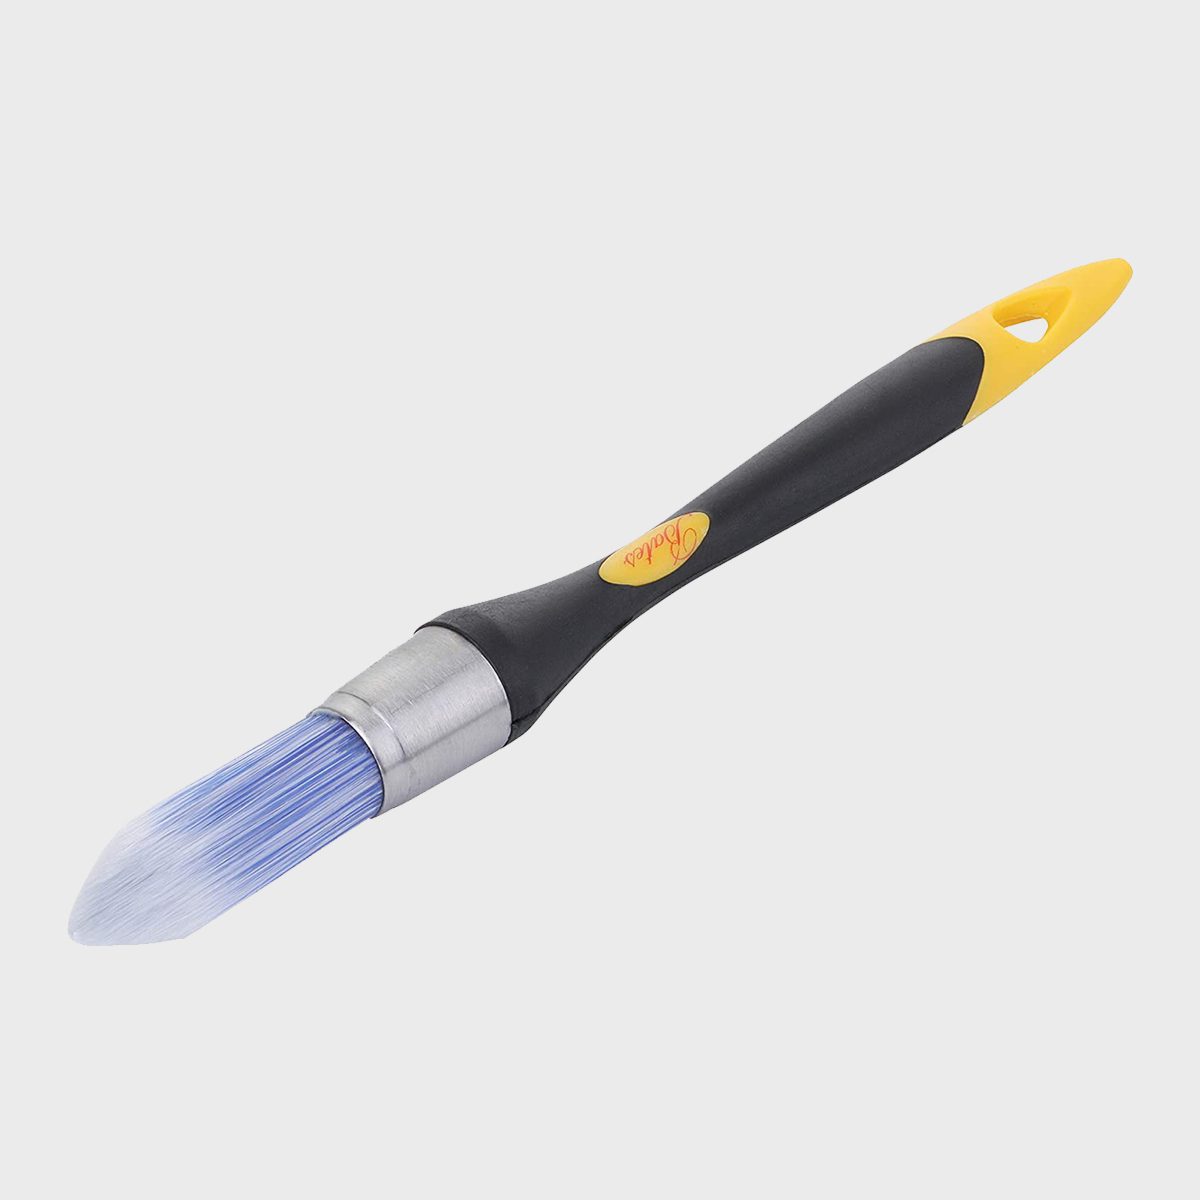
Bates Three-Quarter-Inch Trim Brush
The Bates 3/4-inch trim brush is a very small, specialized brush designed to cut in around trim. Despite the manufacturer including photos of using this on baseboard, it’s best used as a specialty painting tool for particularly tight spaces where a normal 2-in. brush won’t fit. We’ve included it on this list because it’s great for that specific circumstance, but this won’t be your primary go-to for edging — it simply won’t give you a wide enough band to easily roll the wall body paint against, and there’s no point in taking the time to carefully cut-in an edge if you’re simply going to smash a roller against the trim.
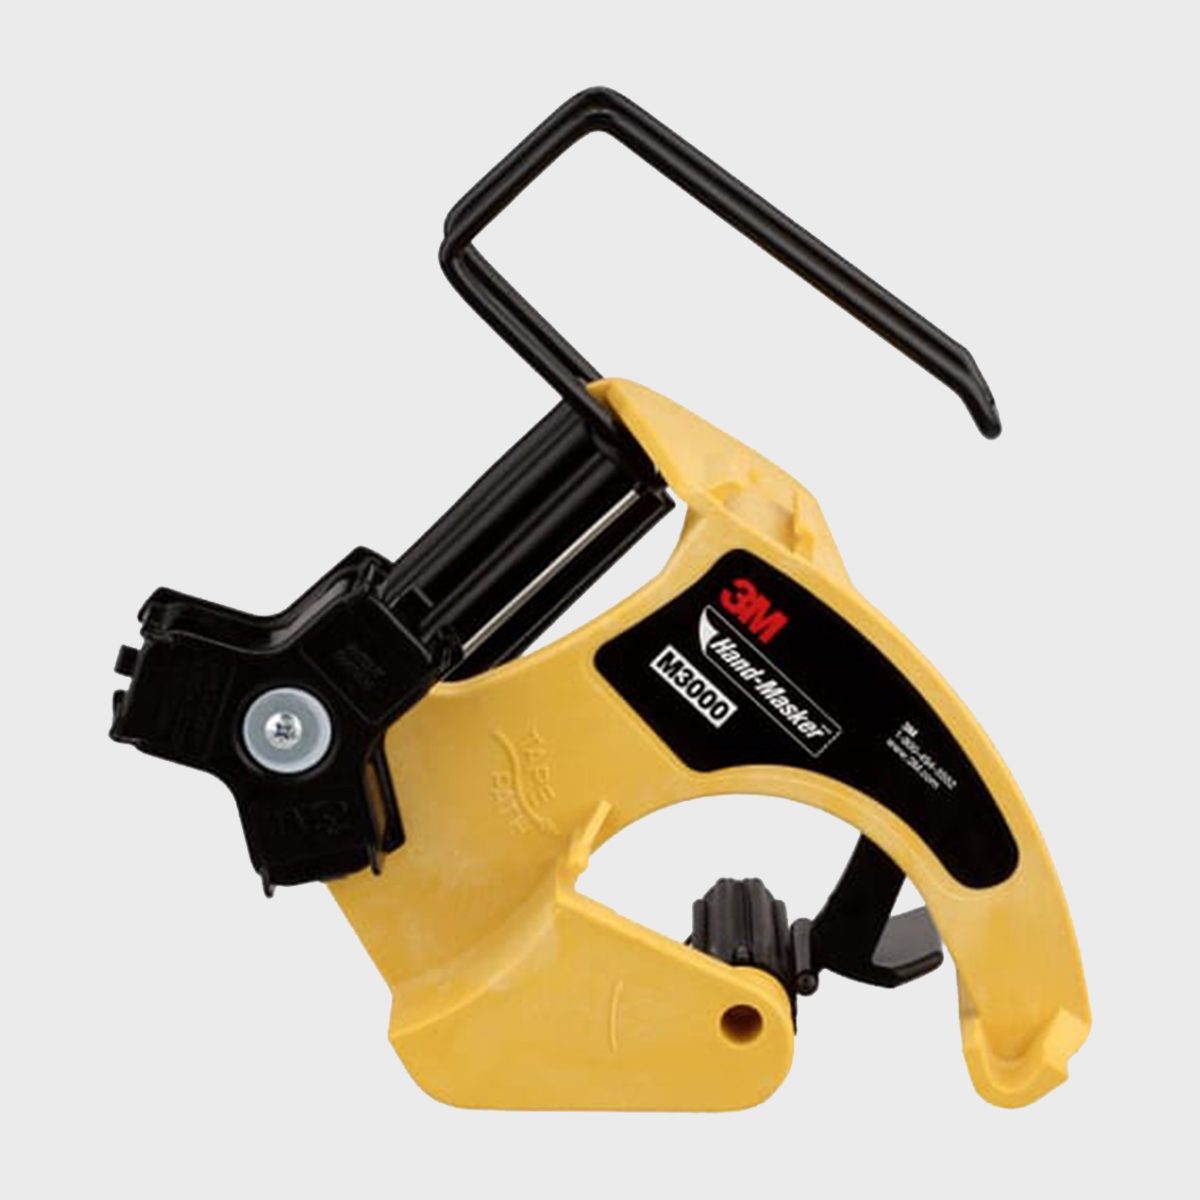
3M Hand Masker
We’ve mostly talked about tools to help apply paint. But another strategy for quality edging is to protect the trim or edge wall before painting, with painter’s tape. If you opt for that method, it’s worth picking up something like the 3M Hand-Masker M3000 Dispenser. You’ll put down tape faster and more accurately with this tool than you will by eyeballing the straightness.
One caveat: While this is great for straight lines, if you’re working in a home where things are off-kilter or working with short, irregular lengths of trim, you’ll be better off taping in short, controllable lengths. The 3M hand-masker is designed to work with most painter’s tapes, so you won’t be limited to 3M branded products. (It also works with hand-masker film. That’s a much wider protective material often used when spraying paint or popcorn texture.)