These outside-the-box sandpaper tips and tricks will help you better tackle your next sanding project.
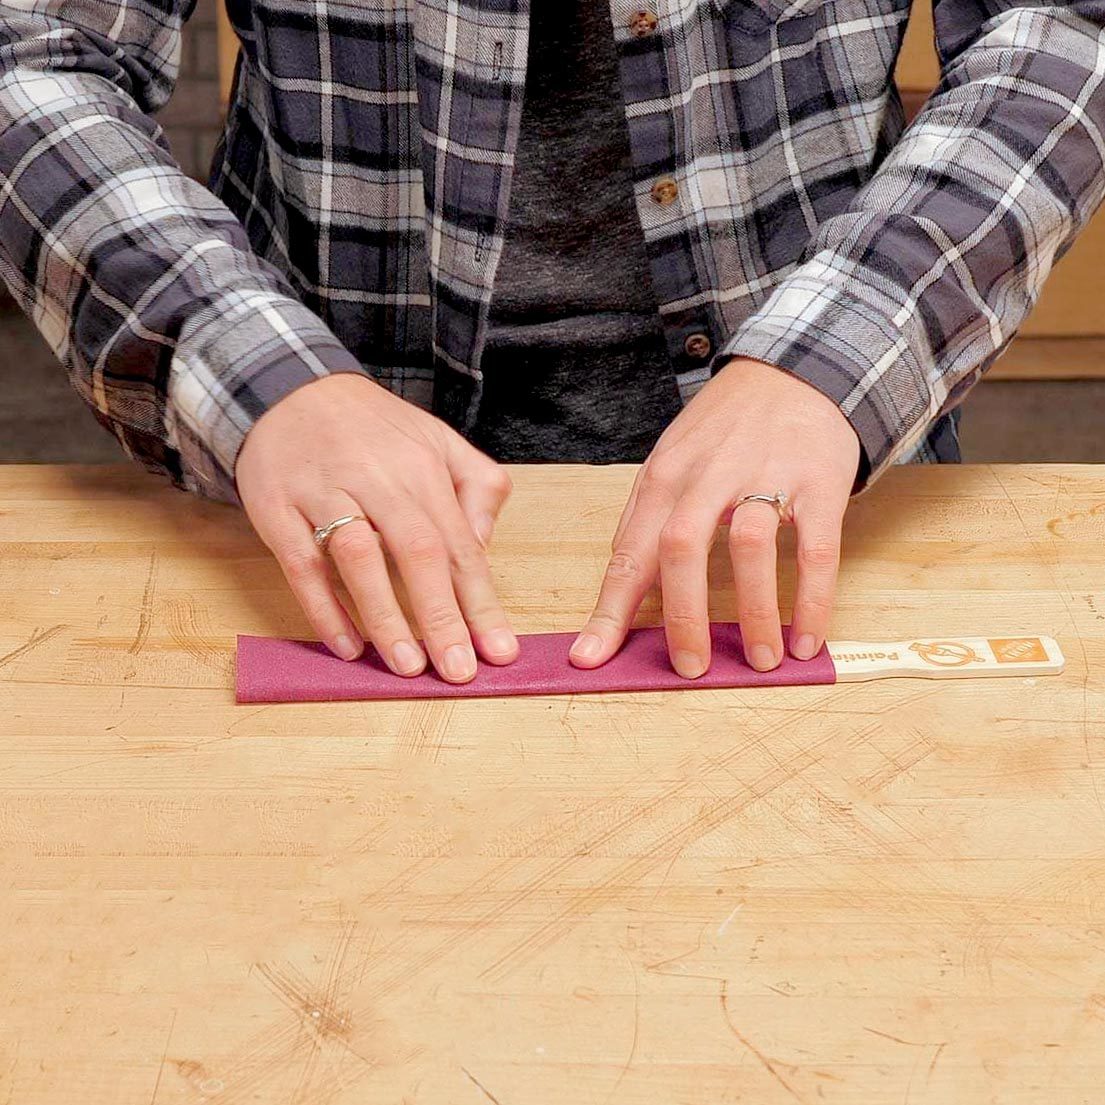
Quick Woodworking File
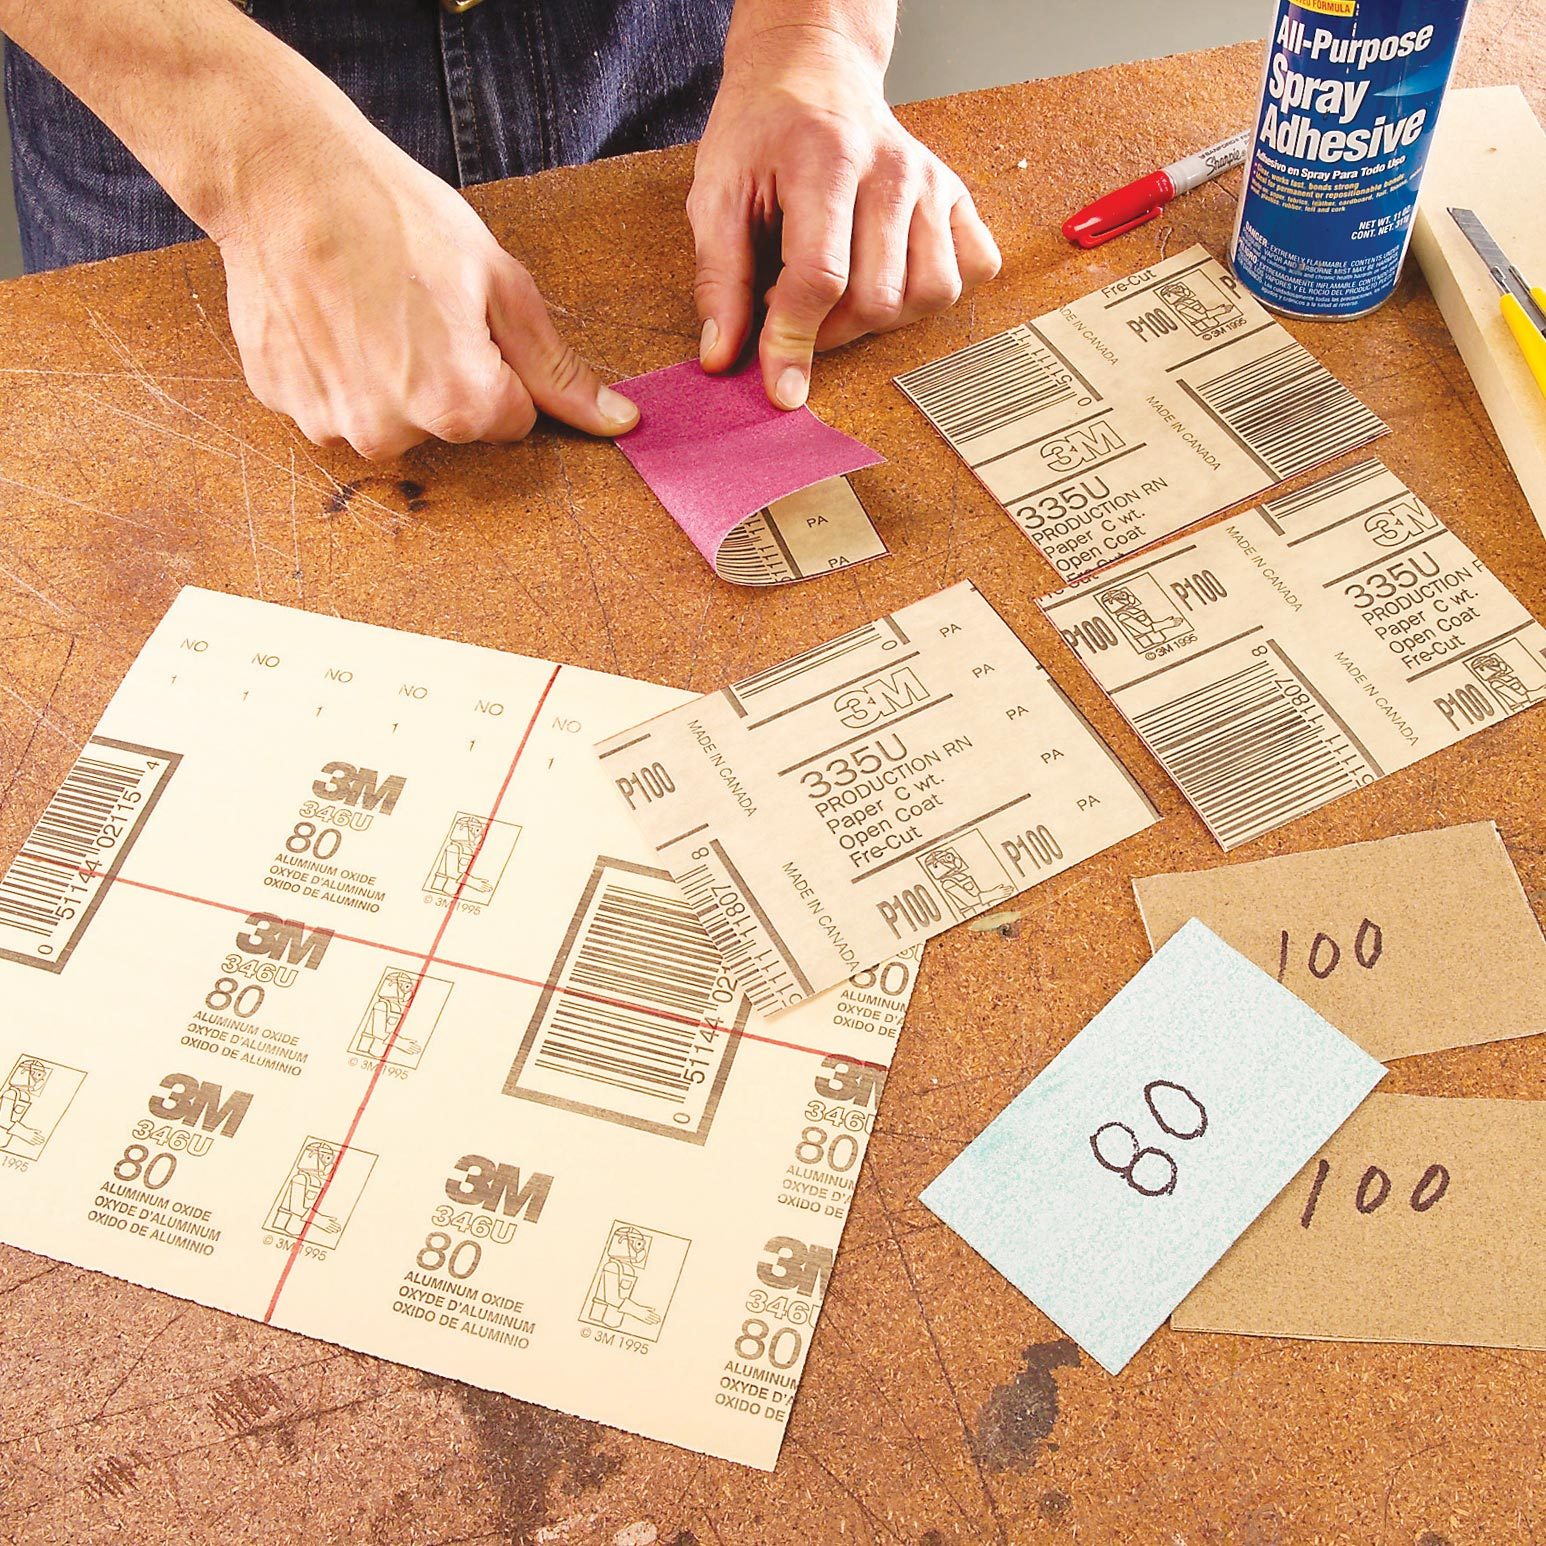
This woodworking file comes in handy for sanding in tight spaces. Cut a piece of sandpaper to fit around a paint stir stick. Then adhere it to the stick with spray adhesive or an all-purpose glue. Write the sandpaper grit on the stick handle if you plan to store it for later use.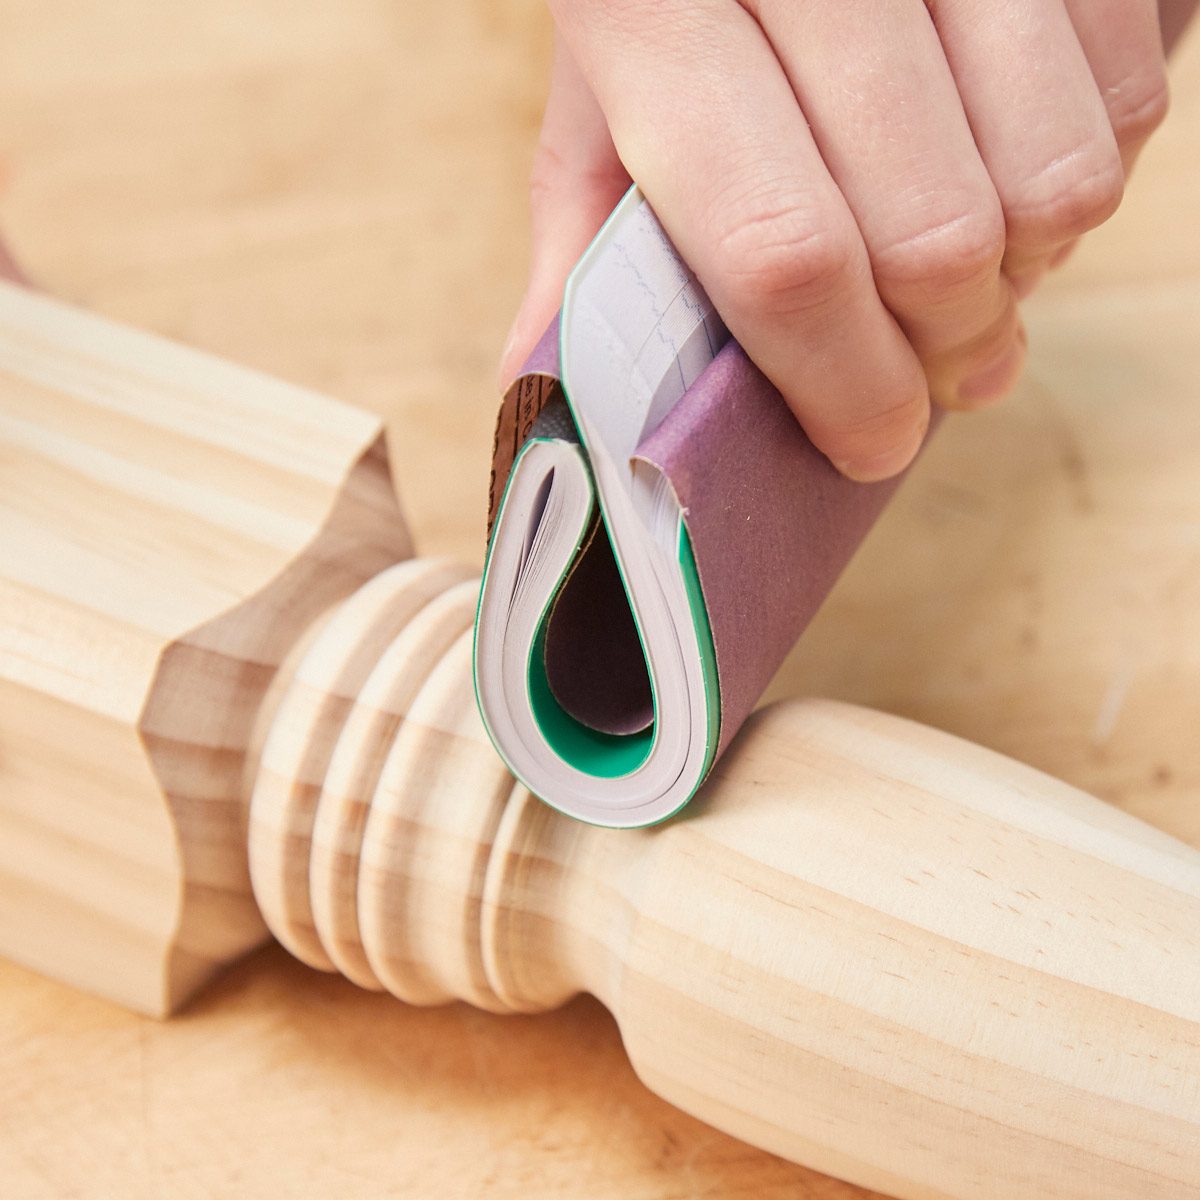
Flexible Sanding Block from the Office
Sanding curves is tricky. Sometimes you need a sanding pad that’s firm and flexible. A small notepad works great.
Just wrap sandpaper around the pad and bend the pad to whatever arc you need. Slip one end of the sandpaper between the pages to hold it in place on the pad. Give this a try the next time you’re working on a project with curves and tough-to-reach spots.
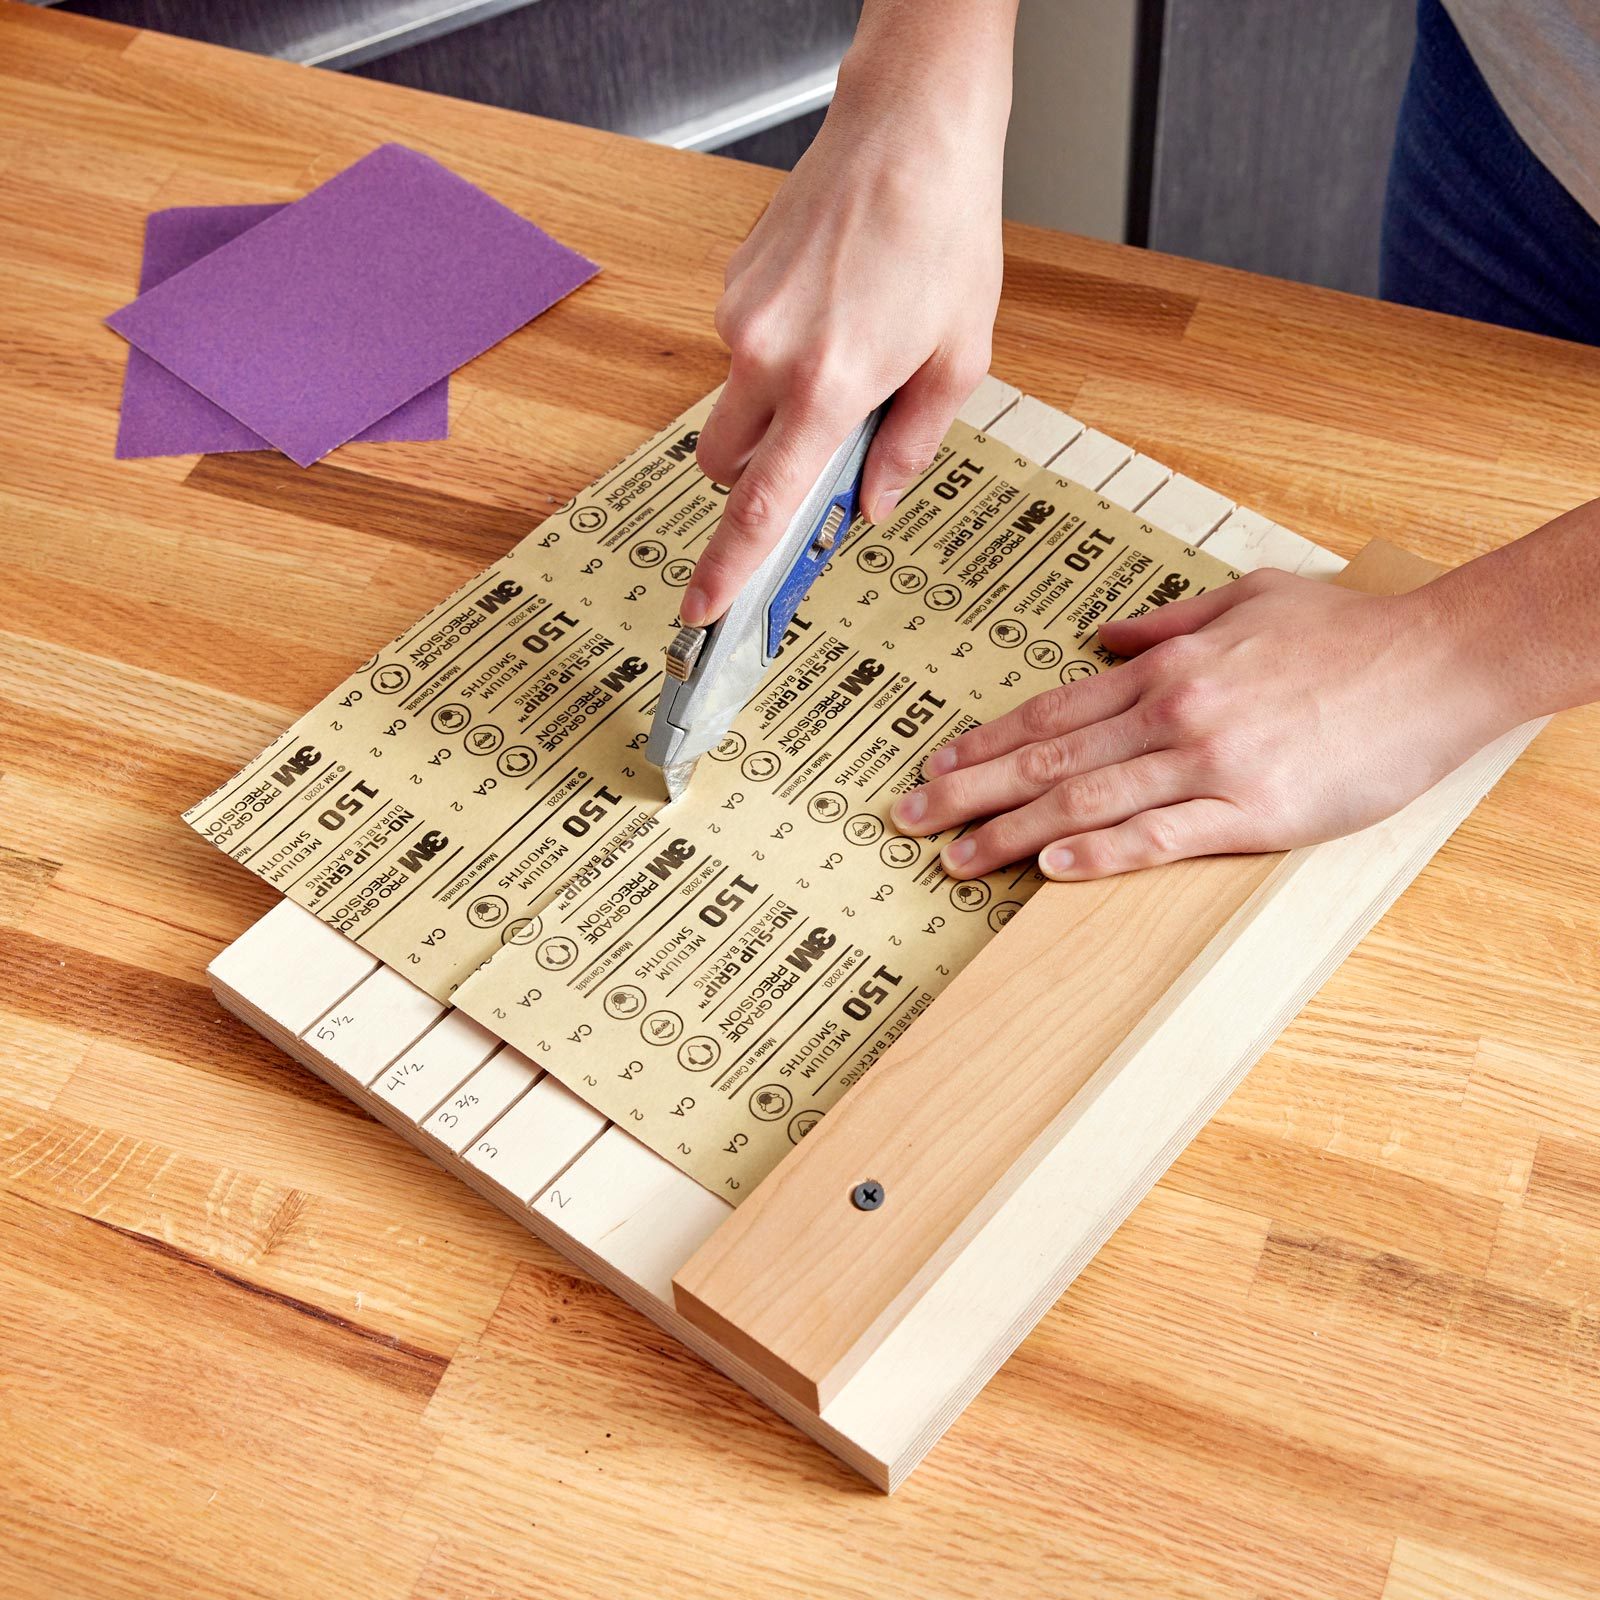
Sandpaper Cutting Jig
Make this simple jig for turning full sheets of sandpaper into smaller sheets to fit yourfinishing sander, sanding block or other device.
Cut the 1/8-in. deep grooves in the base with a table saw and thin-kerf blade, then attach the stop block. To use the jig, place the sandpaper grit-side down and run a sharp utility knife down the appropriate groove.
Use a Sneaker to Clean Sandpaper
Make sandpaper nearly new again with a lowly old sneaker. Start up your power sander and dust collection system (remember towear hearing and eye protection).Then slowly press the rubber sole of an old sneaker along the sandpaper. You’ll see a difference instantly!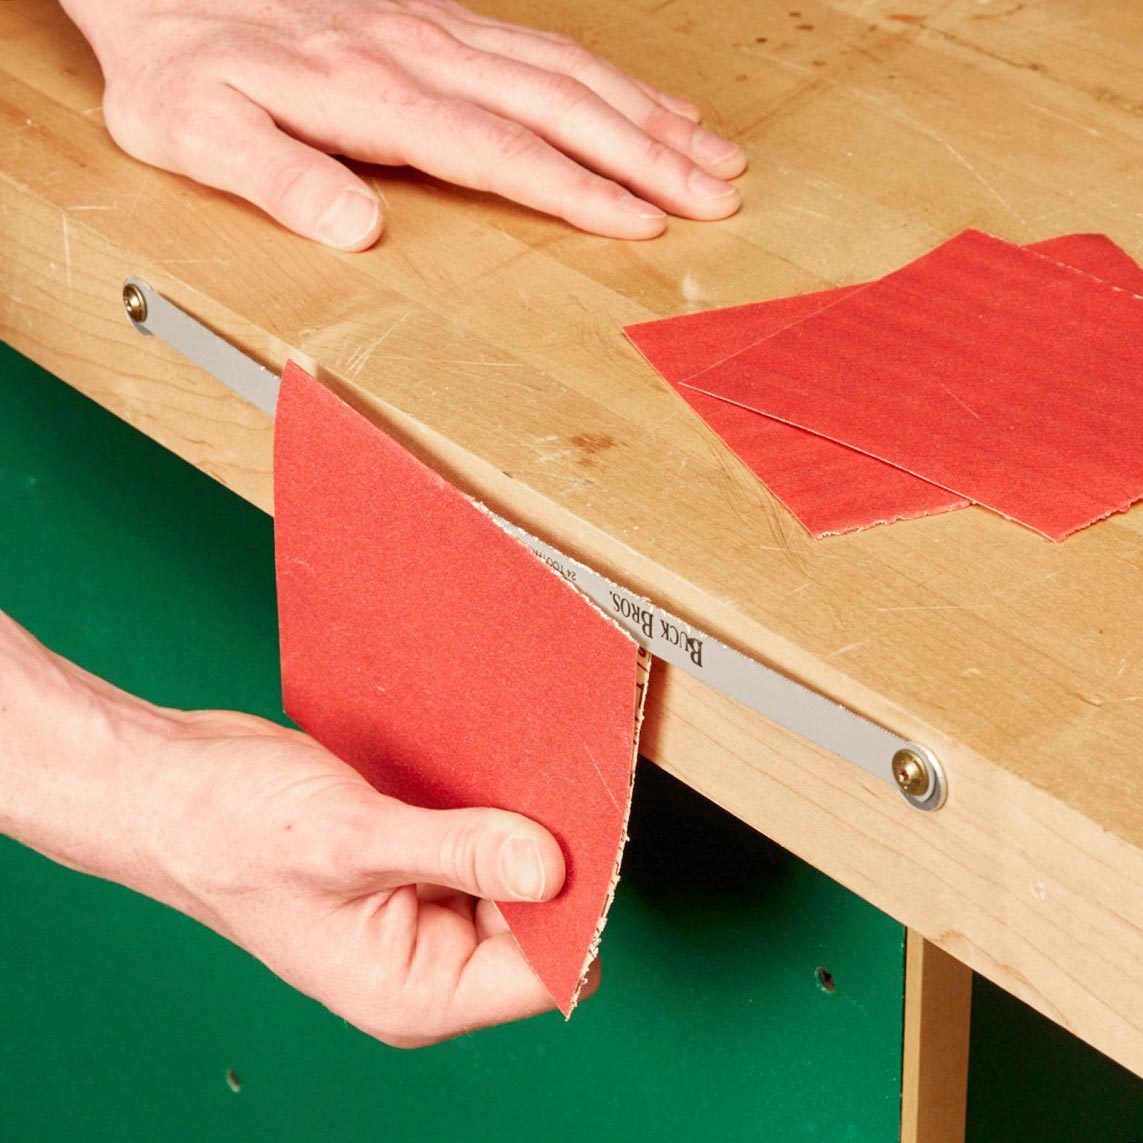
On-Hand Sandpaper Cutter
Cuttingsandpaperis a quick way to dull your scissors orutility knife blade. Instead, I fastened a hacksaw blade to the edge of my workbench. I slipped a washer behind the blade at each of the mounting holes so a sheet of sandpaper easily slides in behind the blade. I fold the paper where I want to cut, just as a reference. — Kim Boley.
Make Durable Sandpaper
I do a lot of finish-sanding freehand, without a sandpaper block, so I can smooth edges and get into nooks and crannies. But the finer grits are usually bonded to thin paper. For me, the paper is too thin and tears long before the grit wears out.
So I apply duct tape to the back of the sandpaper. The sandpaper is still flexible enough to sand a tight radius and it’s far more durable. You can use this super-strong sandpaper like a shoeshine rag. — Chuck Merchant.
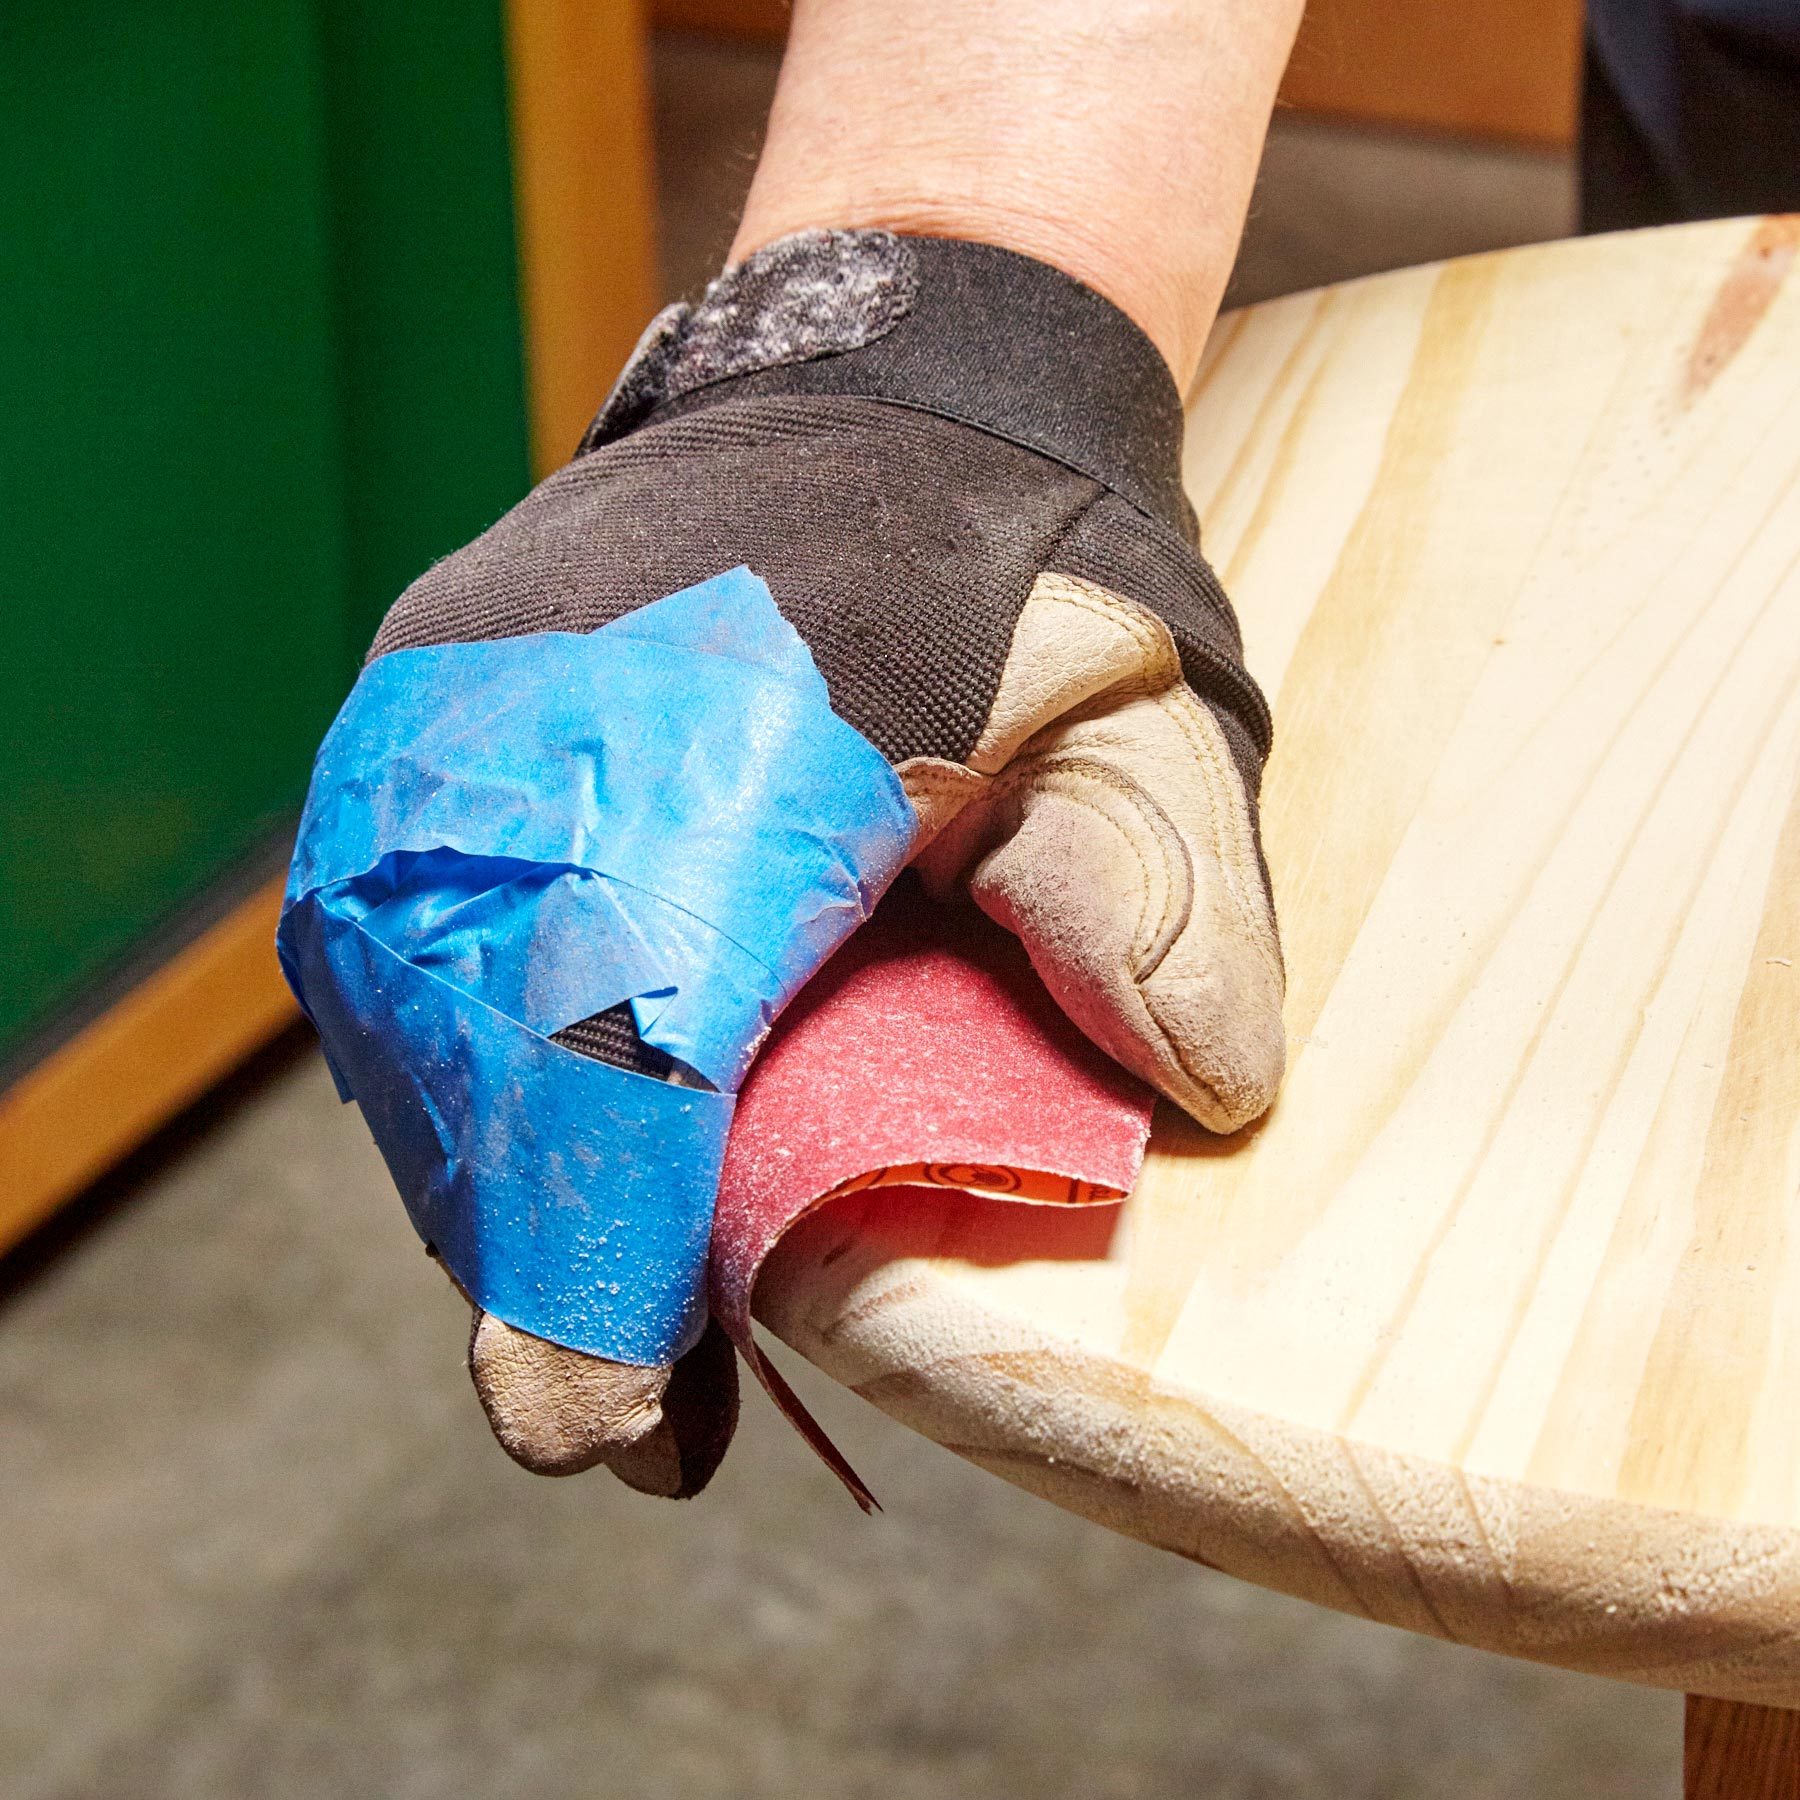
No Slipping, No Splinters
To prevent friction burns and splinters while sanding a curved tabletop, I put on a leather glove and wrapped painter’s tape around it, sticky side out. The tape kept thesandpaper from slipping, and the glove protected my hand. — Eliot Sennett.
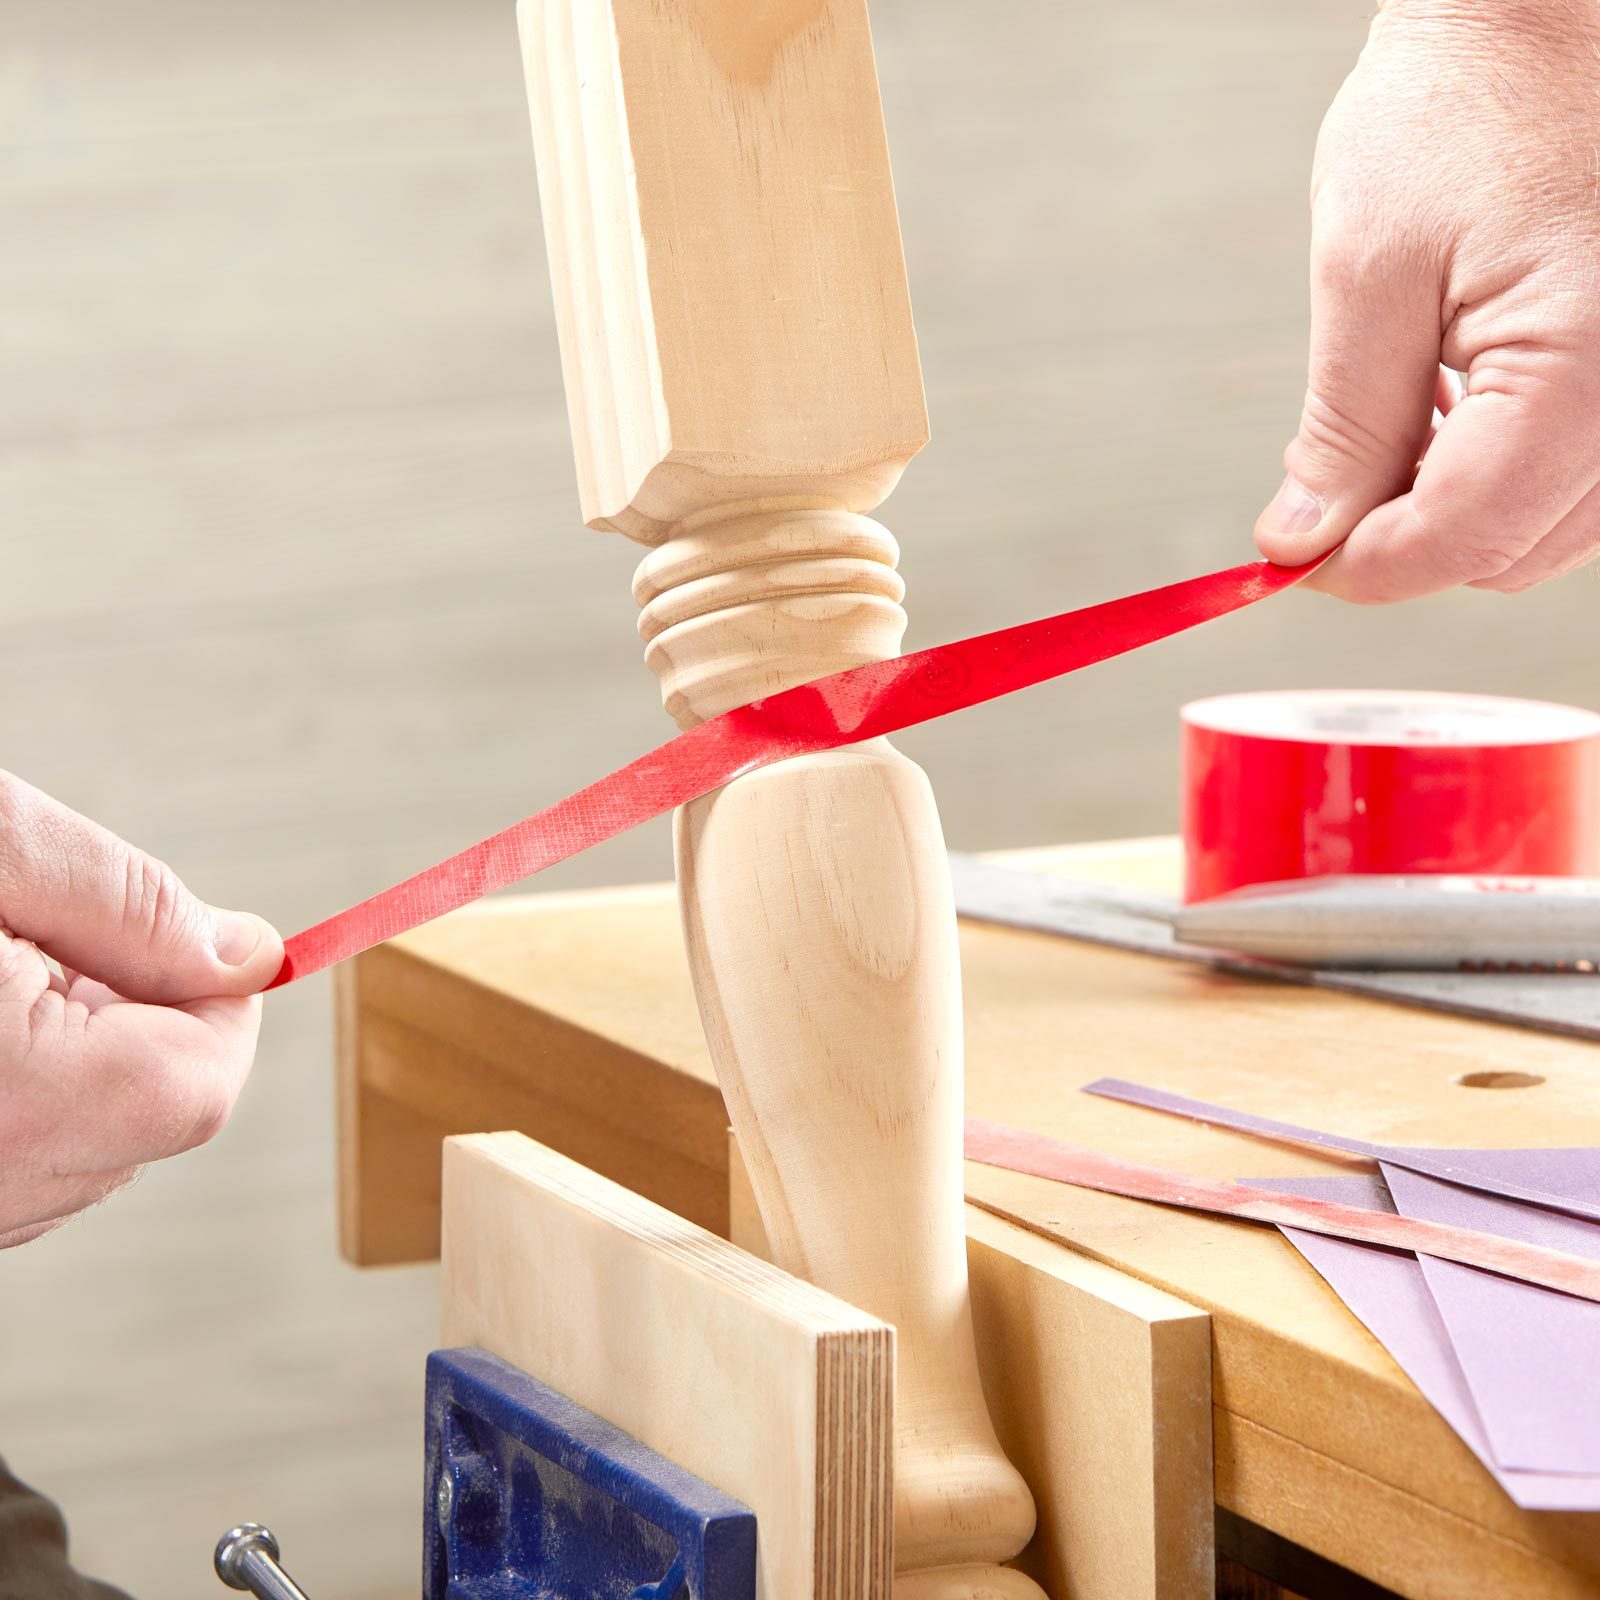
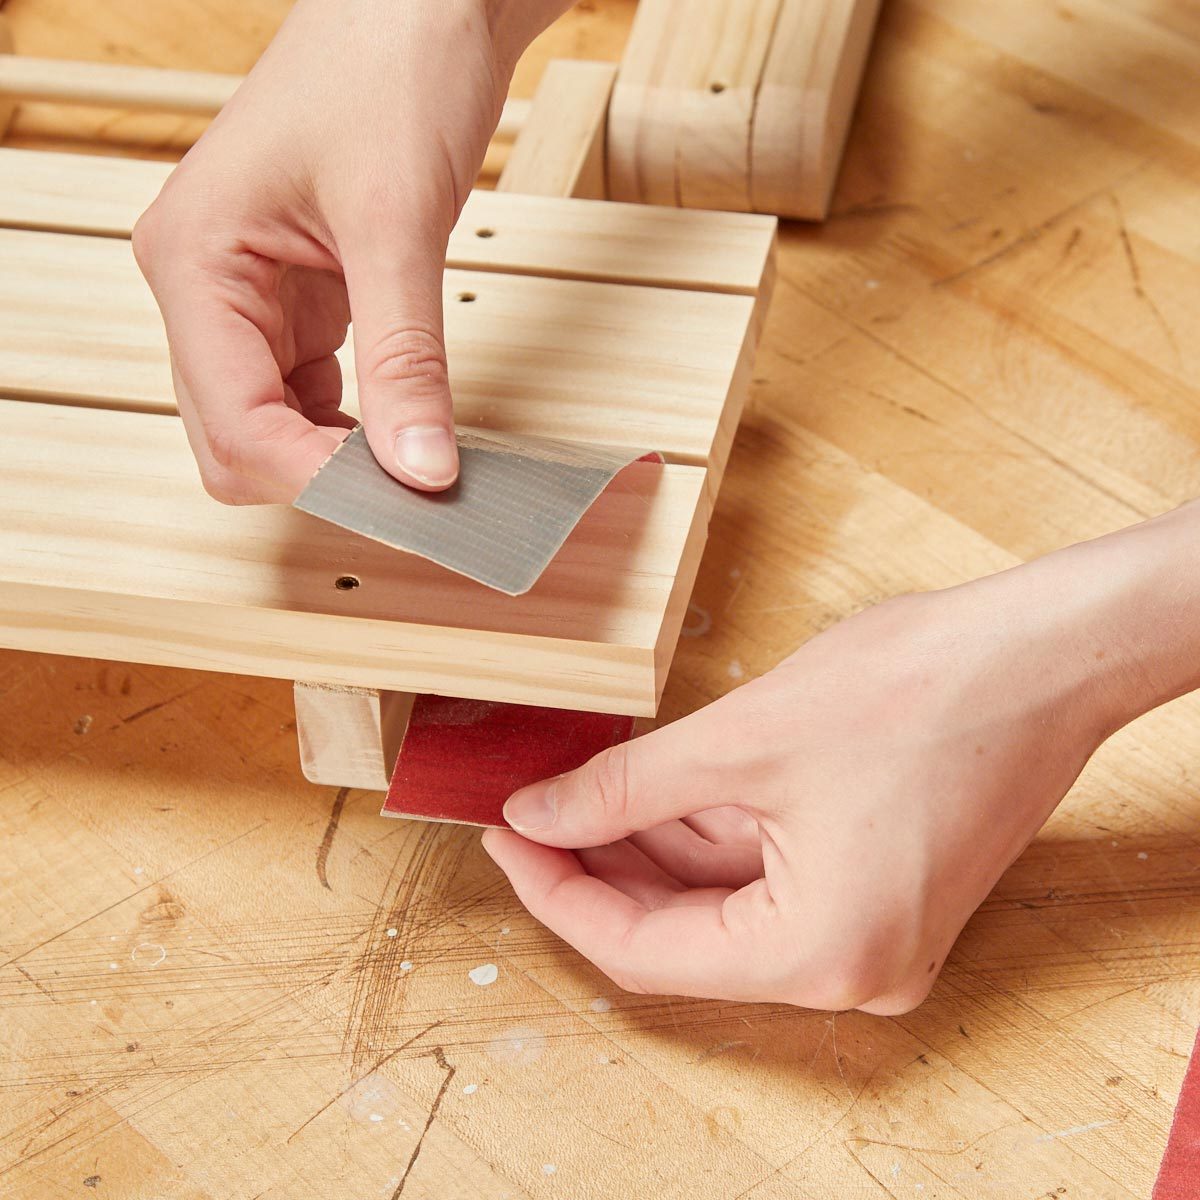
Thick-Skinned Sandpaper
Reader Maggi Thomas sent us a cool sanding tip. Put duct tape on the back of a piece of sandpaper and cut it into custom-sized strips for sanding in tight spots. The tape’s tough hide lets you sand without tearing the paper.
The strips work great for sanding lathe turnings, cleaning dried glue from project parts, and any other job that requires a firm yet delicate sanding touch. Cut the strips with a sharp utility knife and a straightedge.

Sand Your Hands
Some types of wood filler can be hard to remove from your hands after they dry, especially if you push it into small cracks and holes with your fingers. When that happens, I reach for fine grit sandpaper and sand it off my fingers. It’s great for removing dried-on polyurethane glueand canned foam from your hands, too. — Chris James.
Folded Sanding Pad
The best power sander in your shop? A quarter sheet of sandpaper and your bare hand!
To improve the longevity of this natural marvel, apply spray adhesive to the quarter sheets, then fold them over to make a double-thick one-eighth sheet. They work great for sanding sculpted and molded edges, and the double-ply thickness lets you press hard without tearing a hole in the paper.
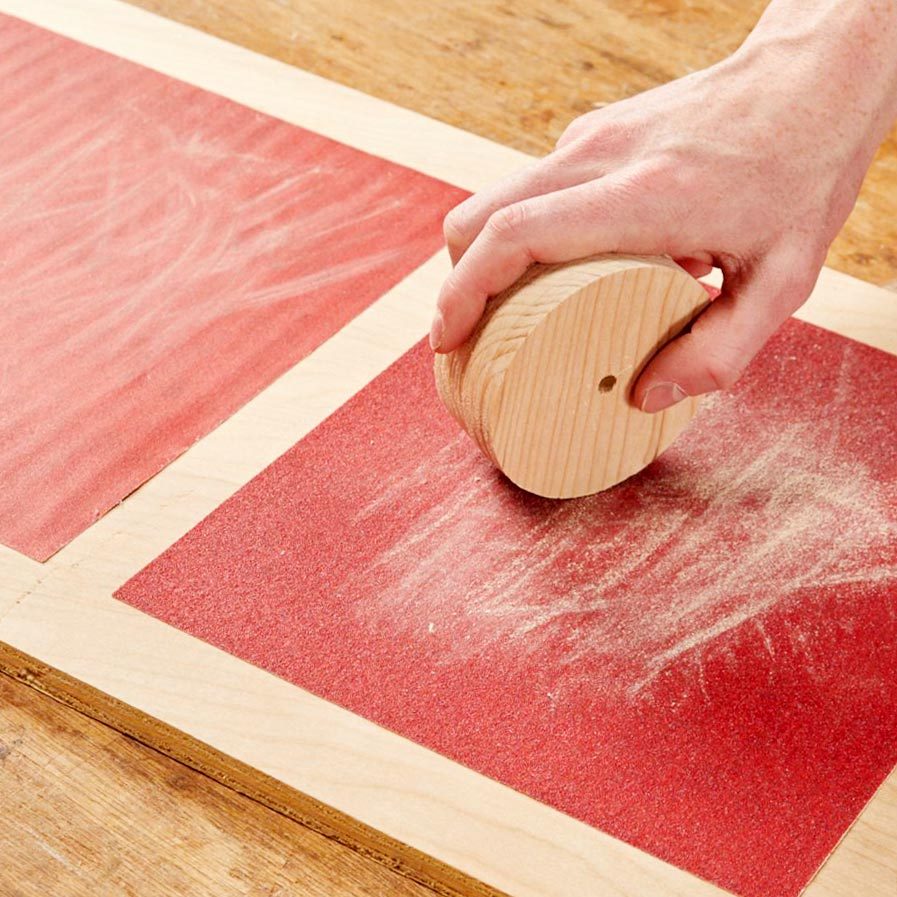
Sanding Station for Small Parts
Sanding small items is tricky because they’re hard to clamp in a vise. So instead of bringing the sandpaper to the workpiece, bring the workpiece to the sandpaper.
Glue sheets of sandpaper to a piece of plywood — 60 and 100-grit on one side, and 150 and 220-grit on the other. Spray adhesive works well for this. Since there’s sandpaper on both sides, my sanding board doesn’t slide around on the bench.
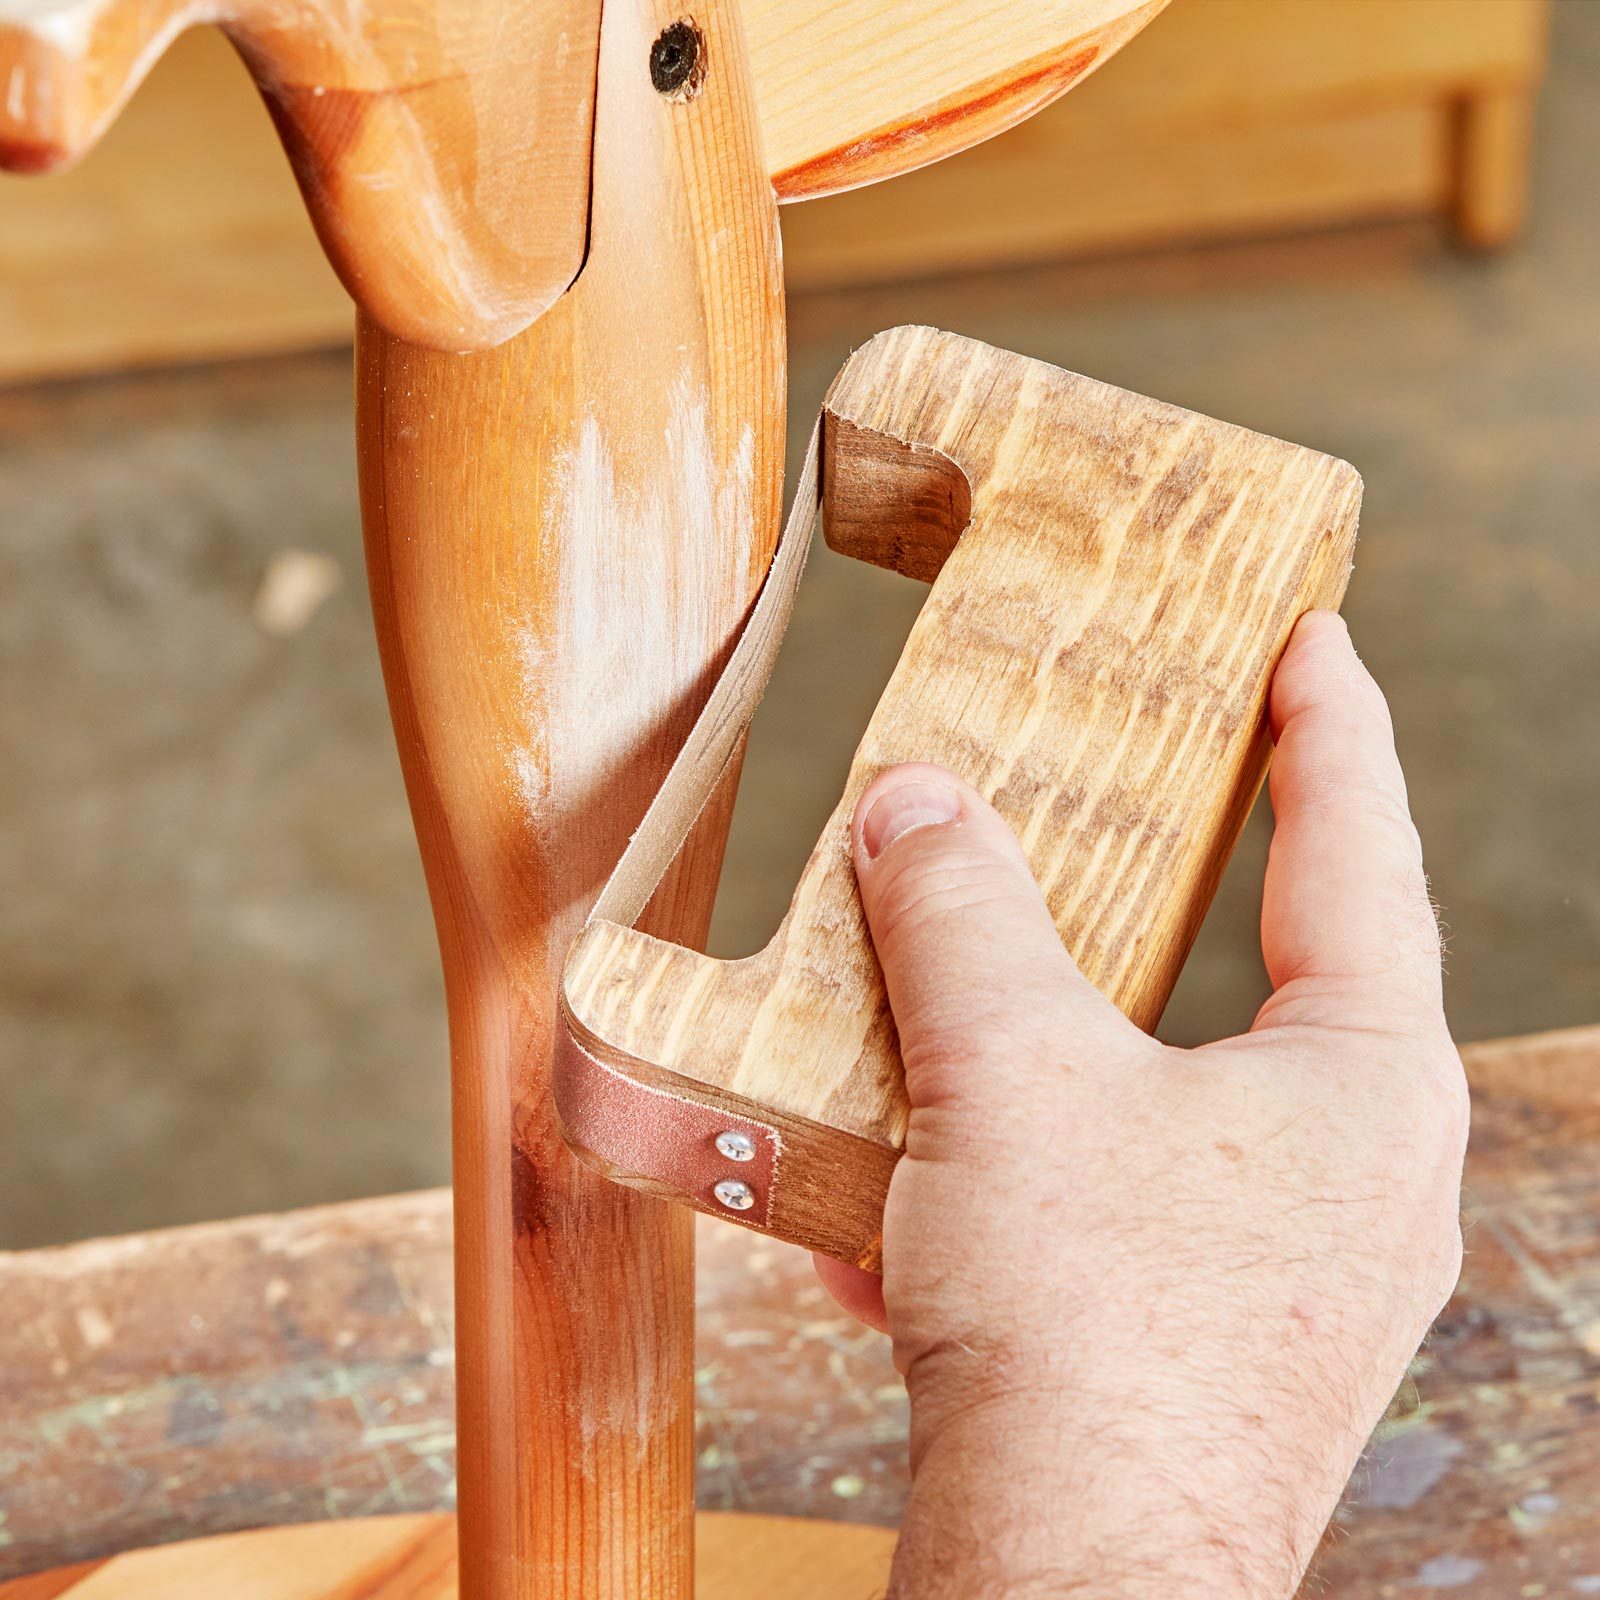
Custom Sanding Bow
Screw strips cut from cloth-backed sanding belts to shop-made wood bows of different thicknesses to shape and smooth furniture parts and lathe-turned projects. The coarser grits remove wood quickly, and the finer grits shine up curved surfaces in a jiffy. Screw the sandpaper strips on with varying tension to best fit the job at hand.
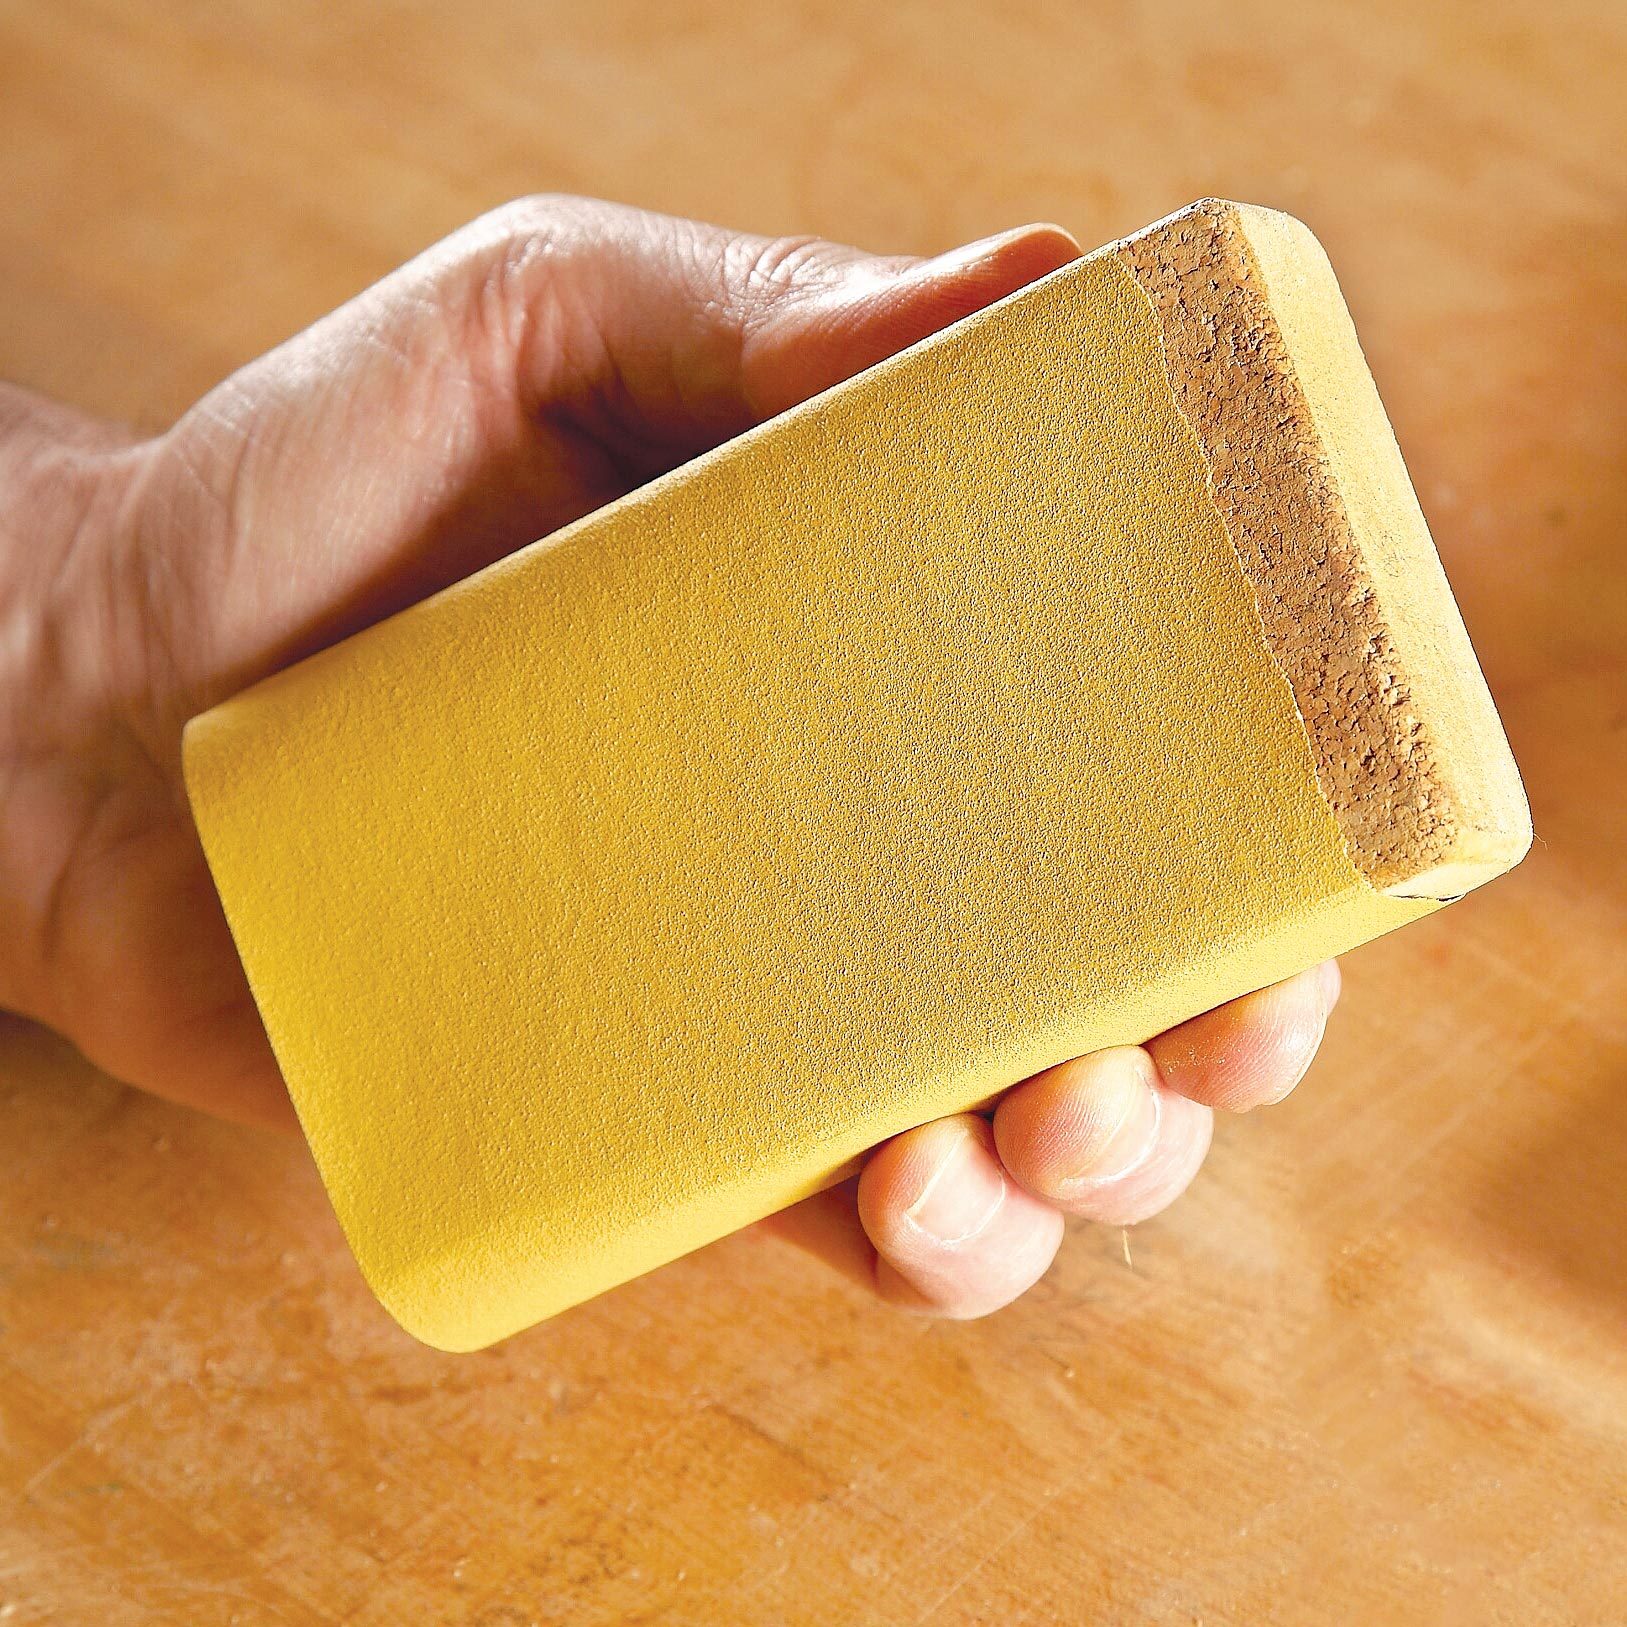
Build a Better Block
To keep the sandpaper from tearing on the edges of his 2-1/2- x 5-in. wooden sanding blocks (custom-made to fit quarter sheets), reader Ken glued a layer of cork on the bottom.
“Now the paper doesn’t tear, and even better, I can press down hard on scratches,” he says. “My fingers hold the paper on the sides of the block just fine, so there’s no need to tape it.” You can buy a roll of cork for $5 at home centers.
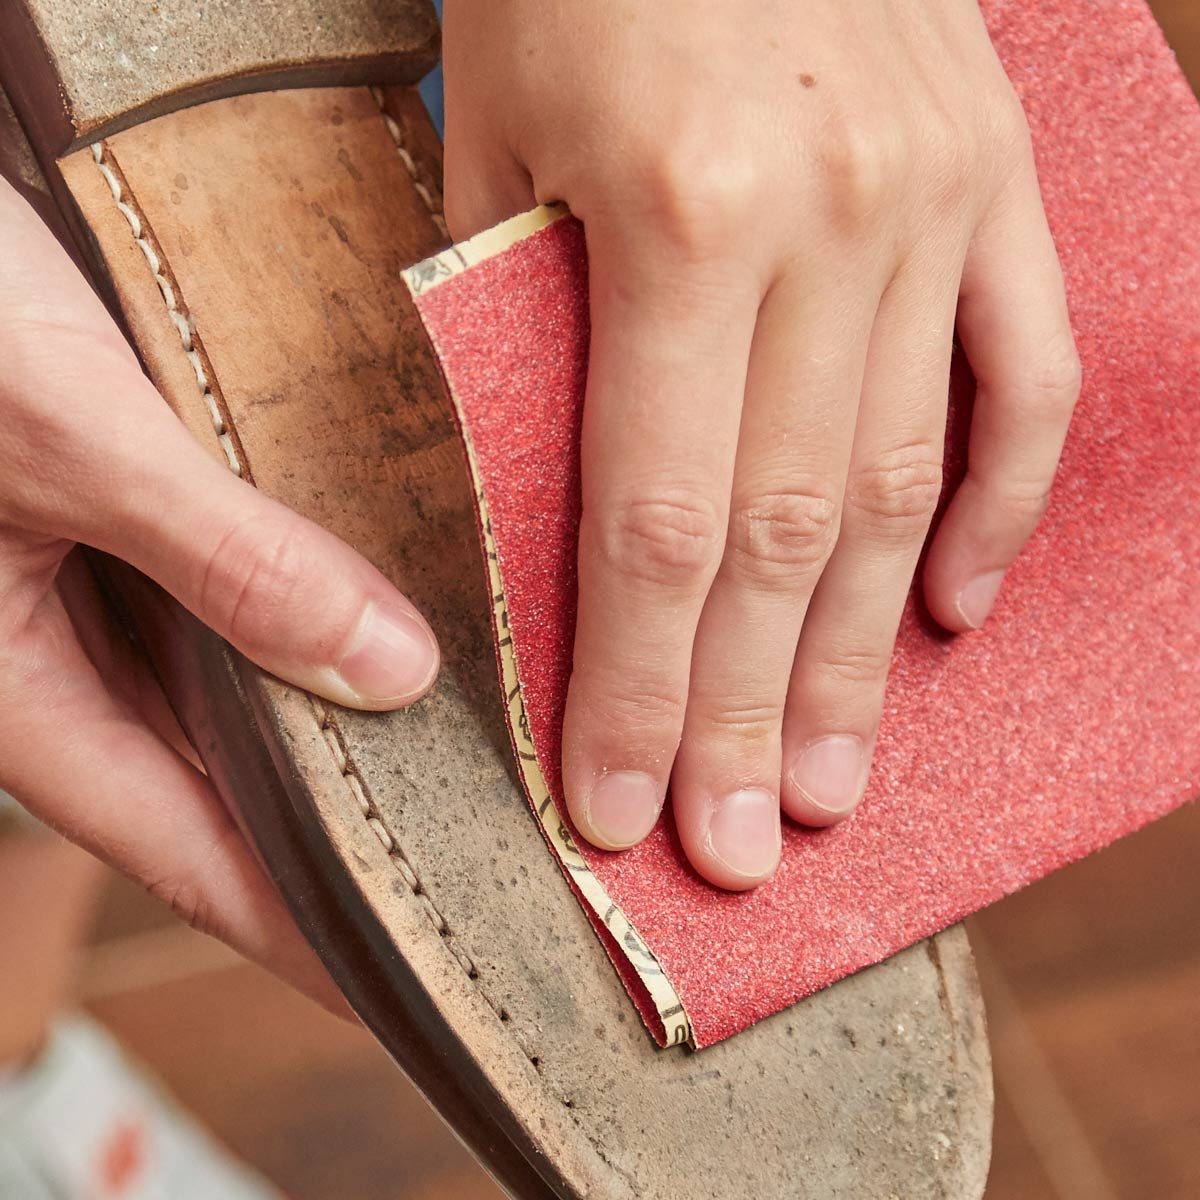
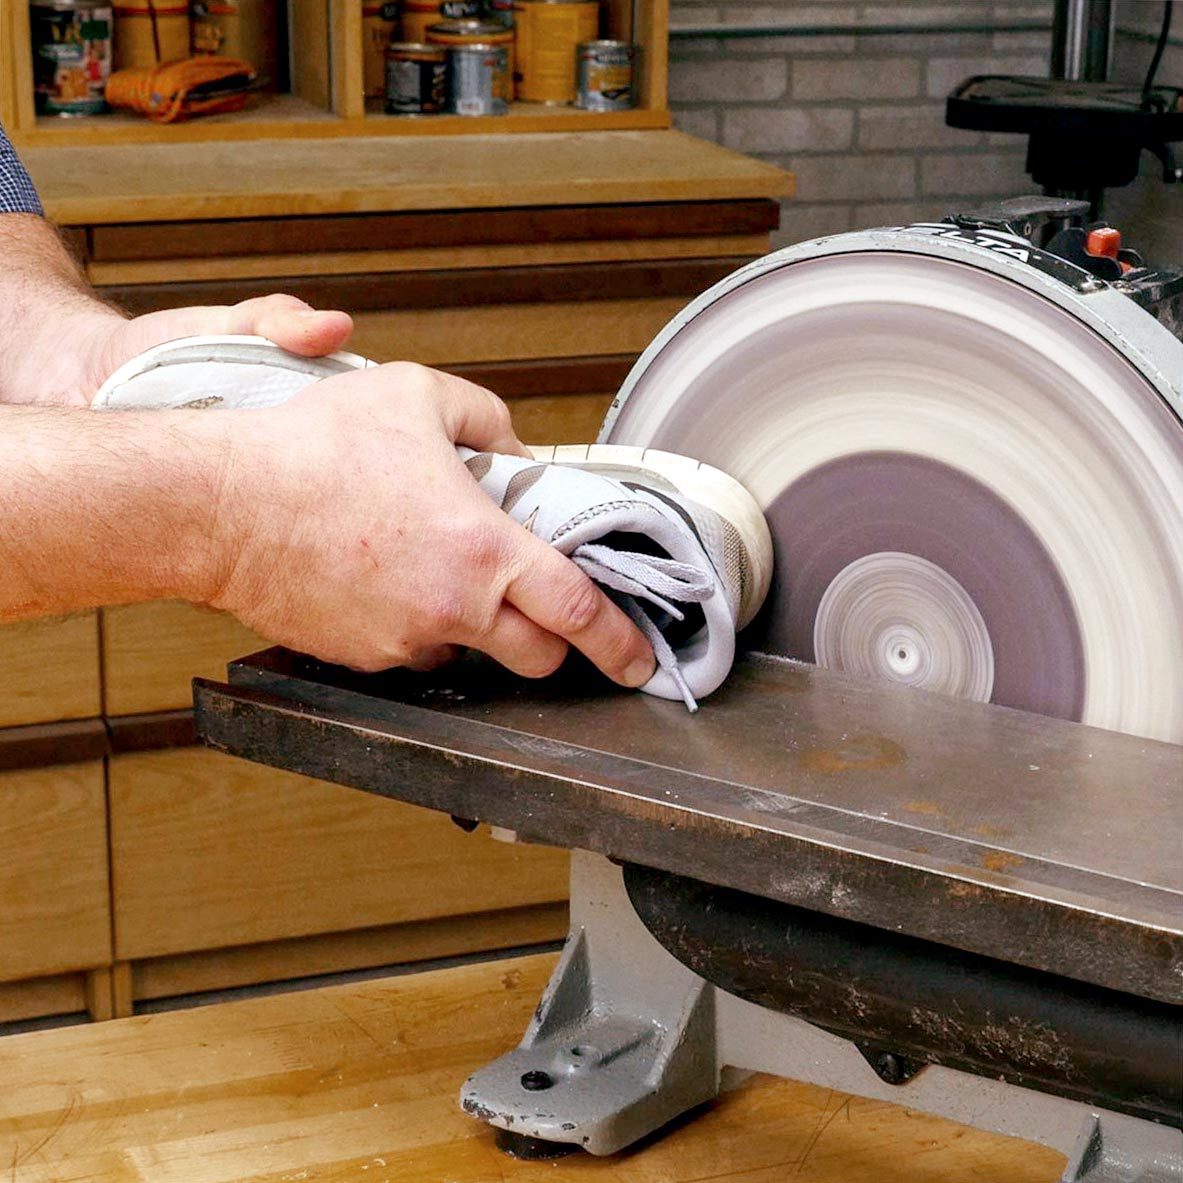
Add Traction to a Slick Pair of Shoes
If your favorite pair of shoes has a slick bottom, don’t risk a wipe-out on an icy sidewalk or especially slick floor. Try lightly sanding the bottom of your shoe soles.
Scrub the sandpaper across the sole where the ball of your foot will be, then across the heel. You’re trying to scuff the soles a bit, sort of pre-aging them. Stop every so often and run your finger over the sole. The trick is to scuff it just enough so it no longer feels slippery.
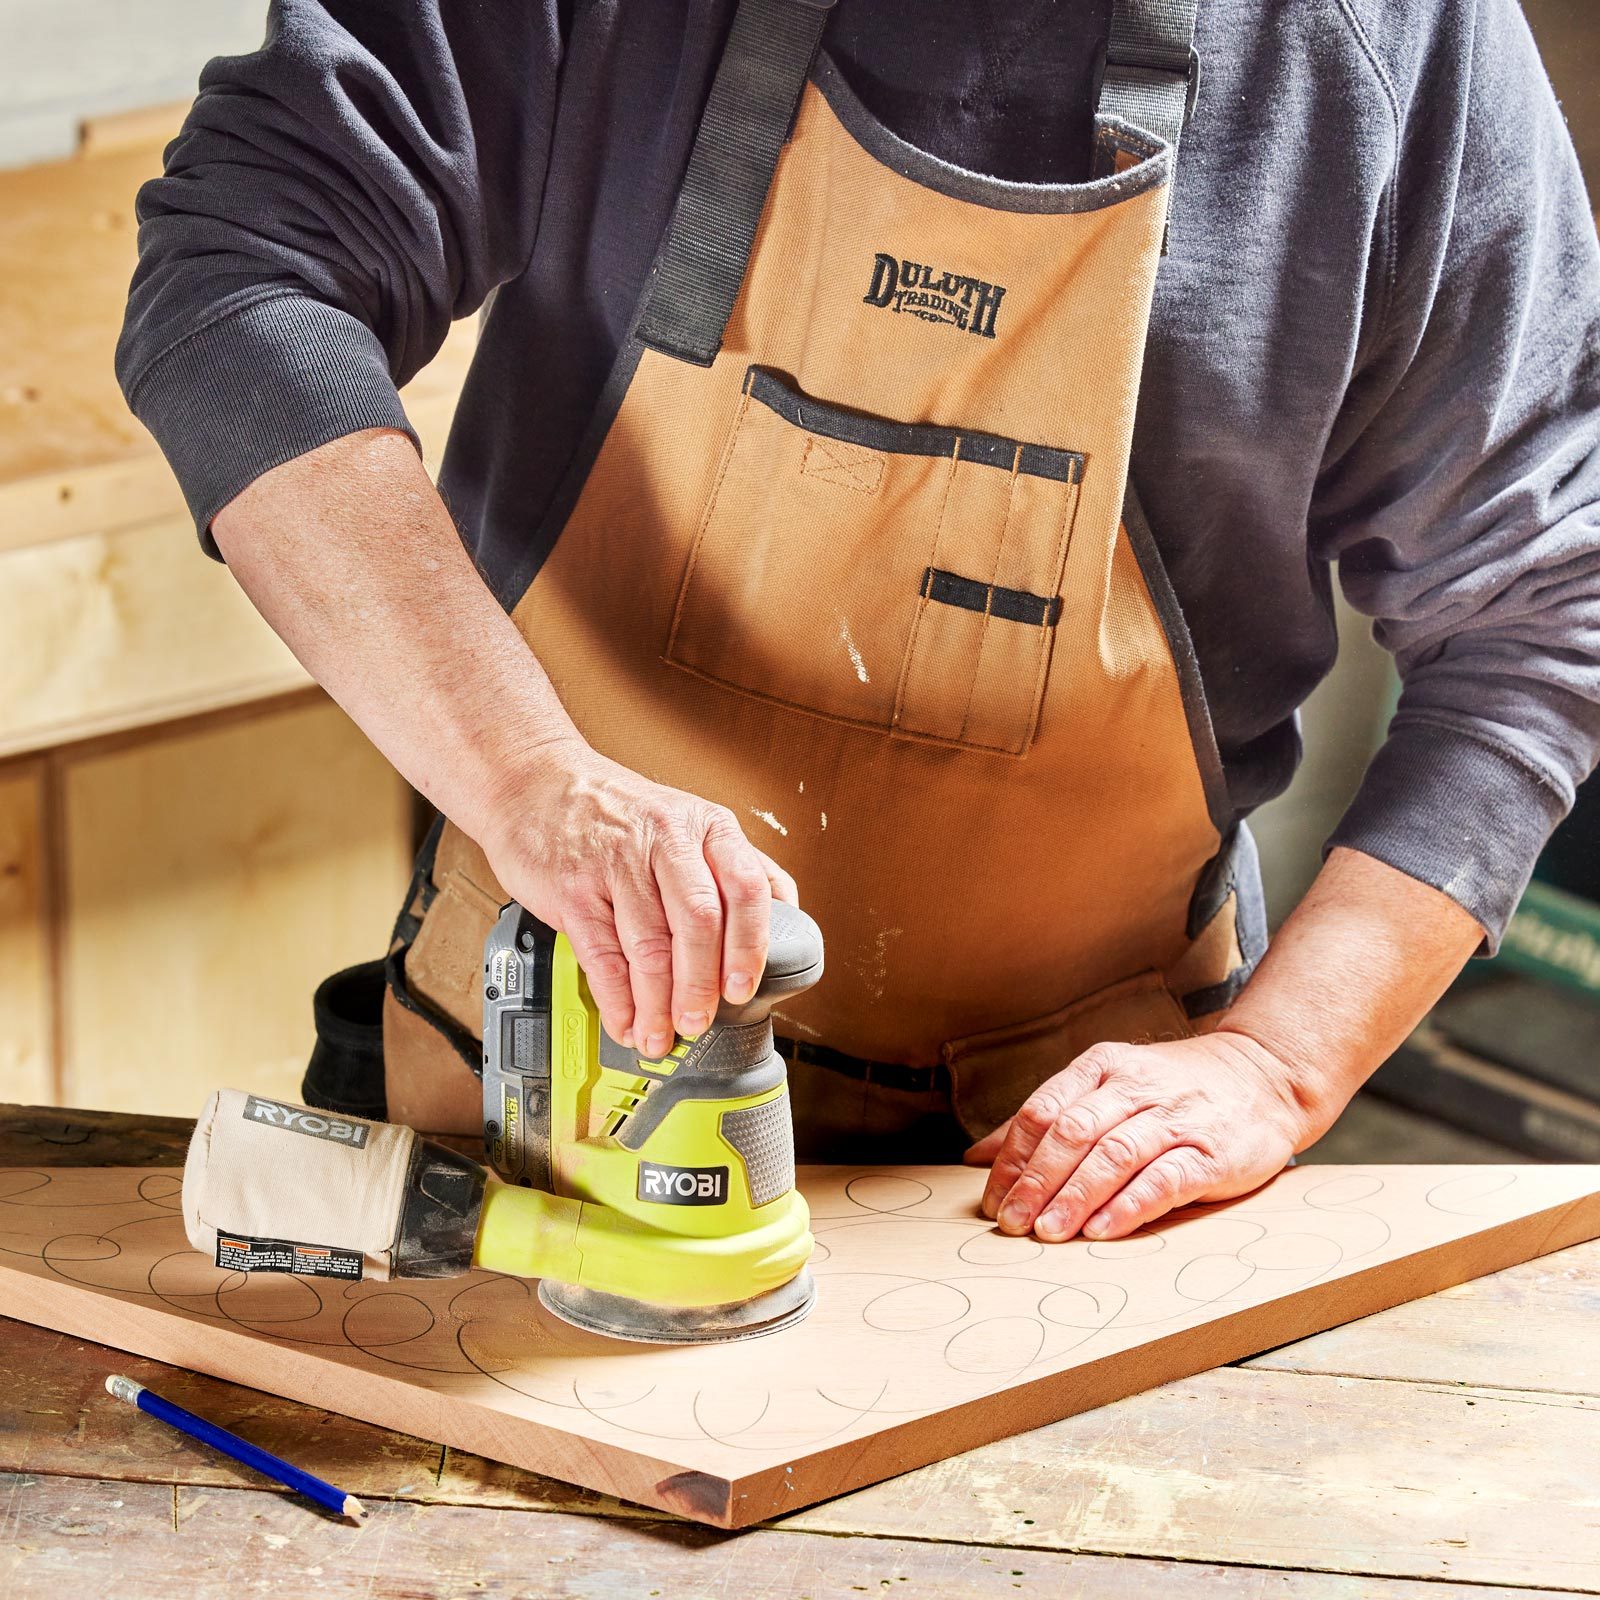
Pencil Visual Aid
Here’s a great old tip that’s worth revisiting. Can’t tell where you’ve sanded and where you haven’t? Scribble light pencil lines over the surface, then sand away until they’re gone. You’ll sand the entire surface without missing a spot, even hard-to-see high and low areas, and know when to switch to a finer grit of sandpaper.
The finer the grit, the lighter the pencil lines should be. It’ll take forever to sand off dark lines with fine grits. Our thanks to Karen Dybdahl for this smooth tip.
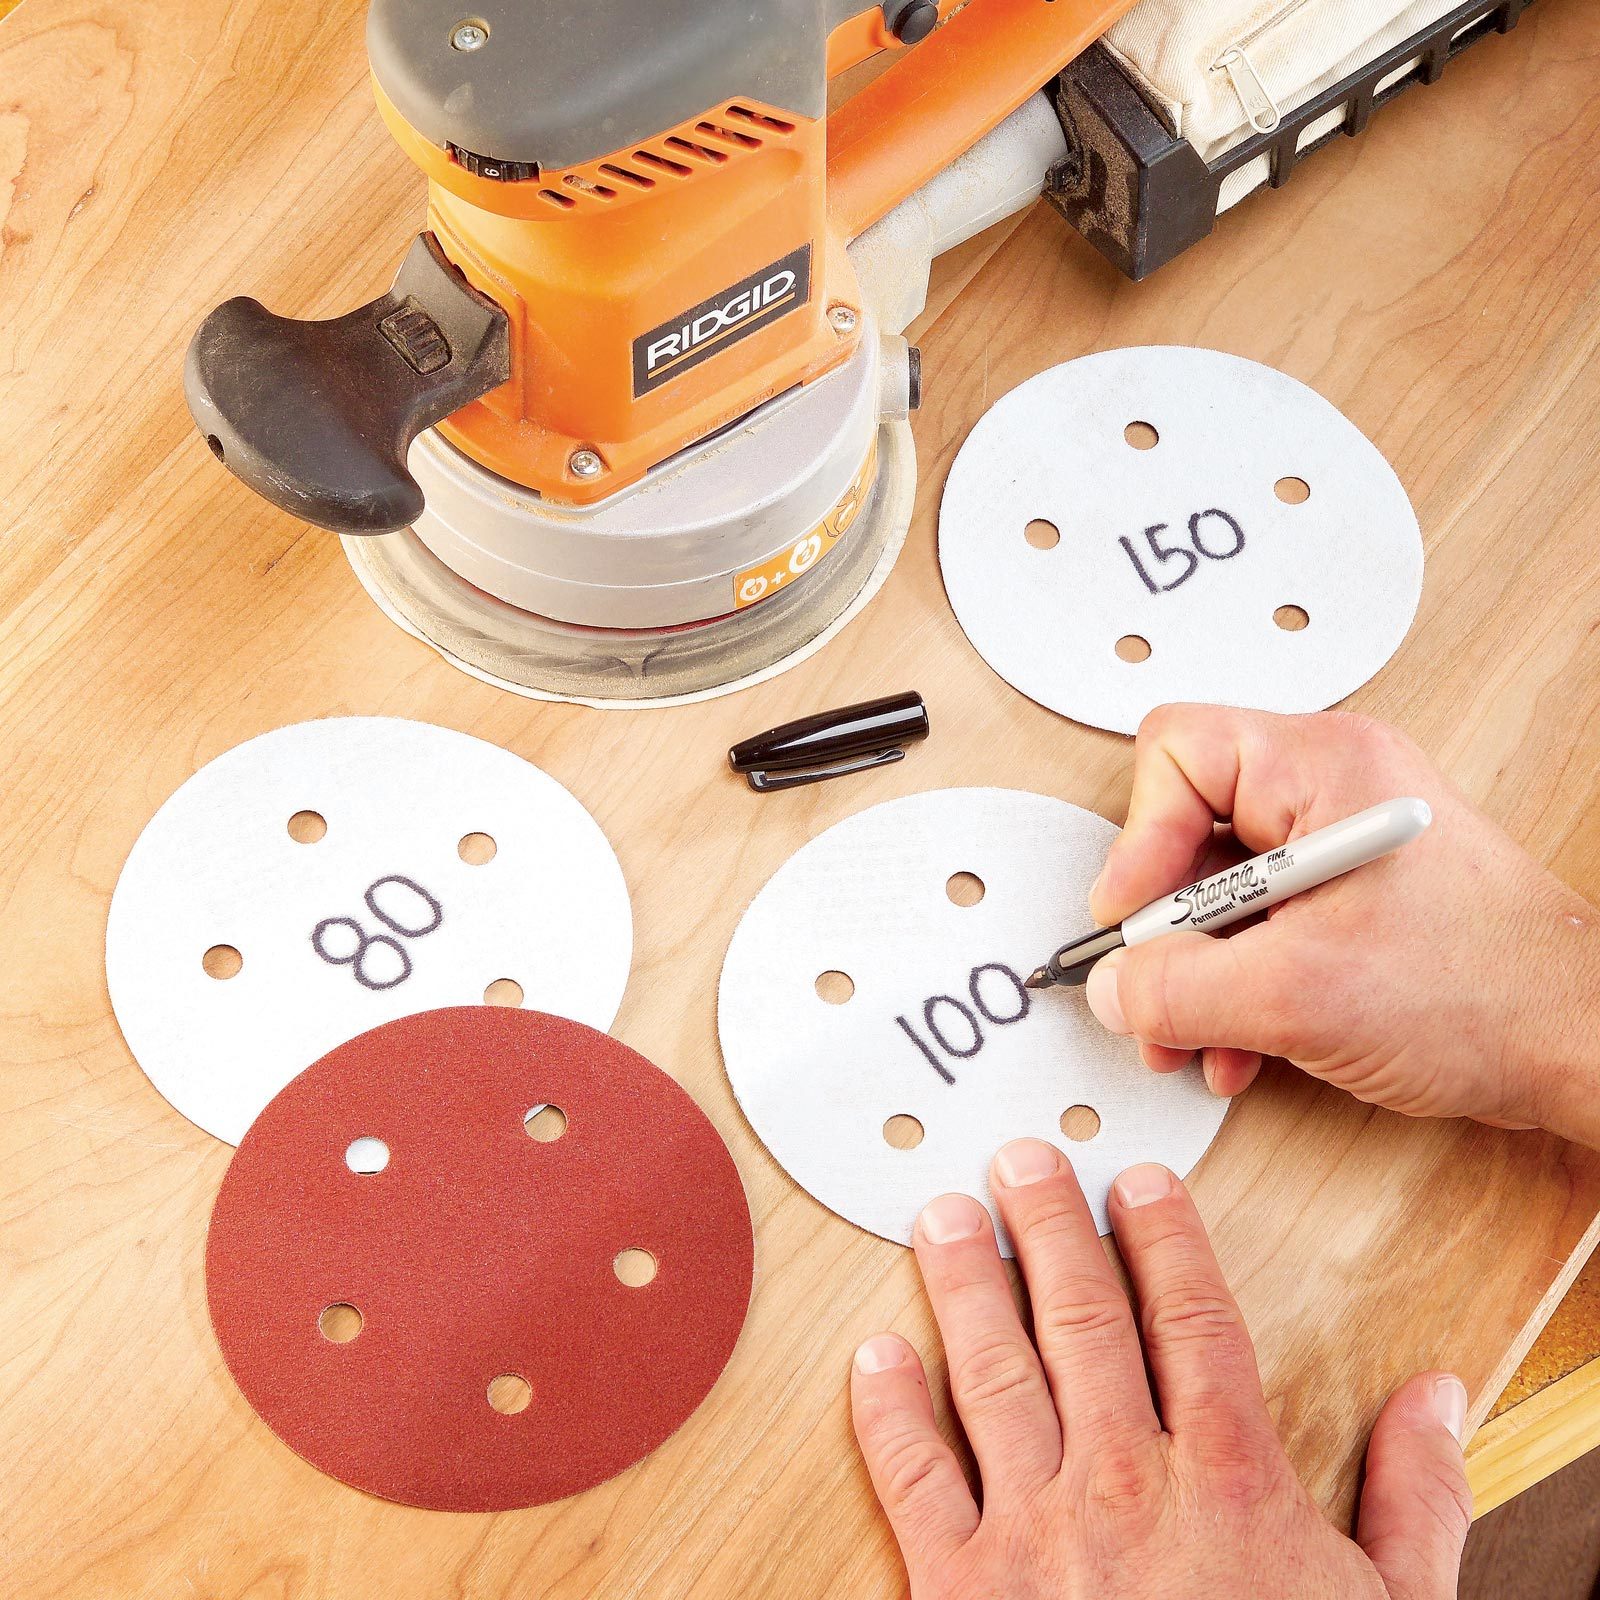
How to Remember Your Grits
Hook-and-loop sanding discs work great for sanding jobs, and you can reuse them several times before they’re worn out. But it’s almost impossible to read the grit labels on the discs after you’ve used them once because the markings get scrubbed off by the loops. So mark them with a Sharpie on the backside of the disks to make a permanent reminder
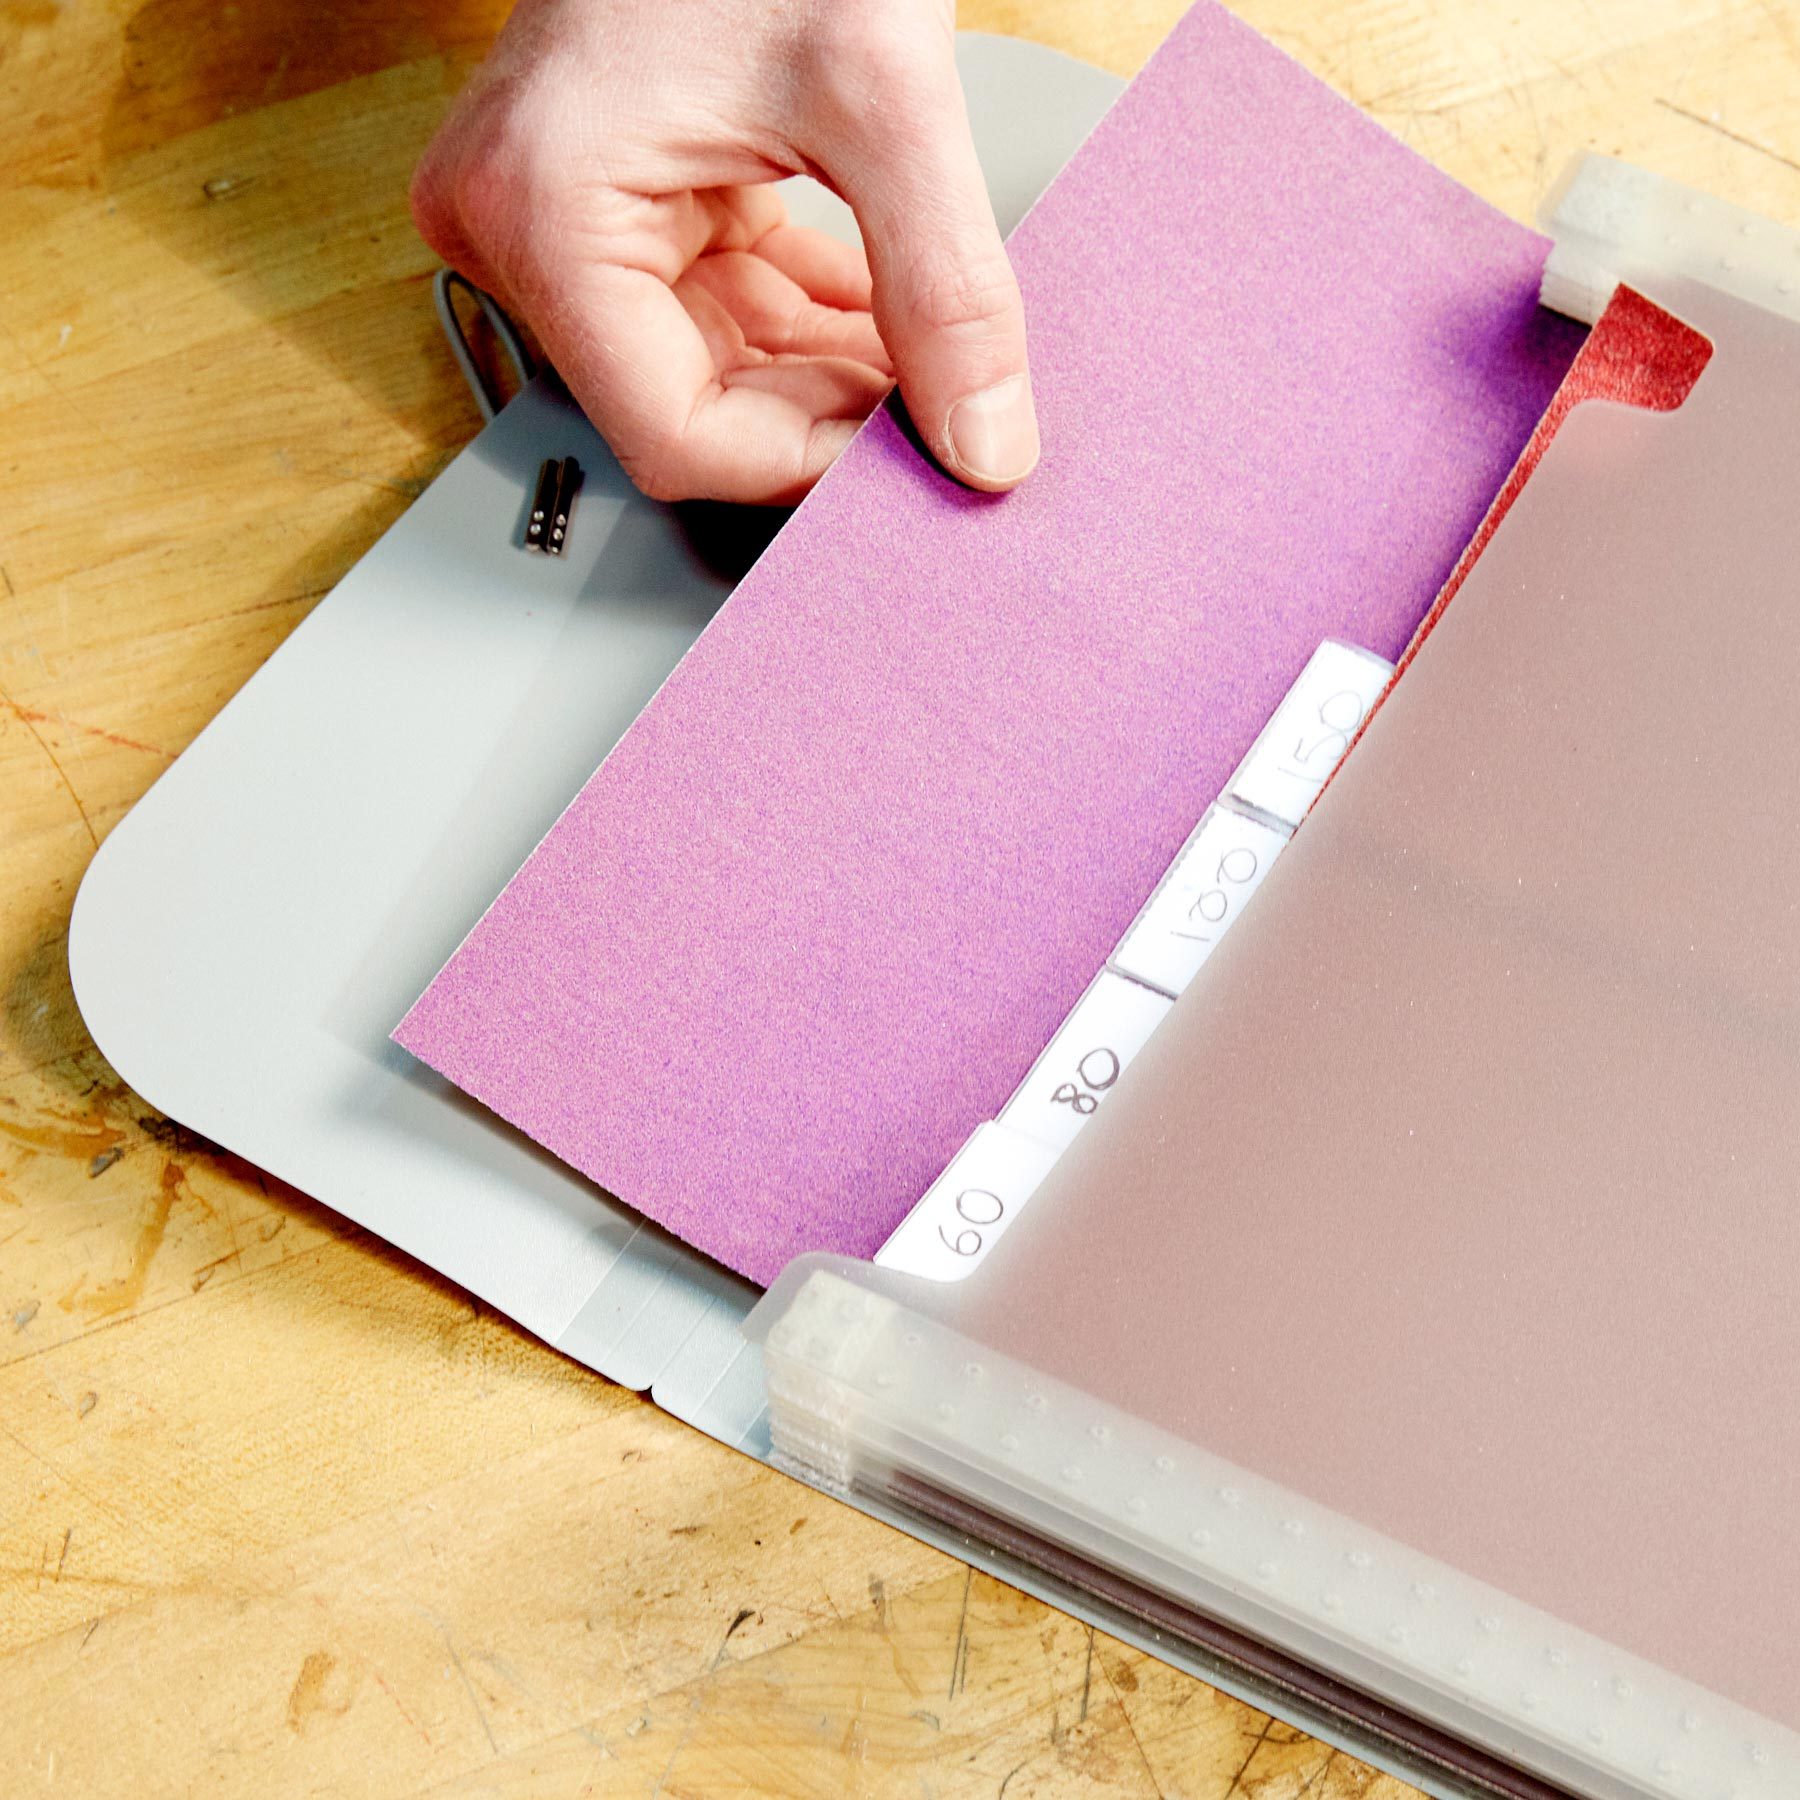
Accordion-Style Sandpaper Organization
Keeping sandpaper organized has always been tough for me. The best method I’ve found? Storing my sandpaper in an accordion-style file folder, labeling the different grits on the folder tabs. – Spencer Olivier.

Brighten Your Path With Clean Headlights
Over time your headlights can dull or fog up. Instead of replacing the entire unit, improve it on your own. It just takes some sandpaper and polish. Sand the plastic headlight, then polish it.